Sunday, March 10, 2013

4 Dresses in 10 Days

For months I've been wanting to revamp Grace's Sunday dress collection.  She has dresses, but most of them are knit dresses that she wears to school.  She also has several skirts, but most skirts are school skirts too, and I just have been wanting dresses that are only for church.  Yes, I know I shouldn't care so much about what my kids wear, and probably I'm totally vain, but I like clothes.  John has also been told that I feel as though a girl can never have too many dresses.  I don't think Grace needs to wear something new every Sunday (but I wouldn't cry if she did).

Now I can move on having confessed my sins of vanity.

Like Annee said last week, we exchanged some texts and by the end I'd taken on the dare to see if I could sew 4 dresses in 10 days.  I'm not one to turn away from a dare, and in fact, I dare say, pun intended, I work better under a deadline and pressure.  I needed the motivation to get me behind my machine, and boy did this challenge do just that.

And, drum roll....I finished 4 complete dresses in 10 days.  I can't remember the last time I sewed 4 things in 10 days let alone a small collection of dresses.  I'm hoping that I can keep my sewing mojo going because I have visions of new pillows and pants for George and maybe even another dress and or skirt for Grace, etc.  But, before I get ahead of myself, here's the rundown 4 dresses I sewed and my review of each pattern.

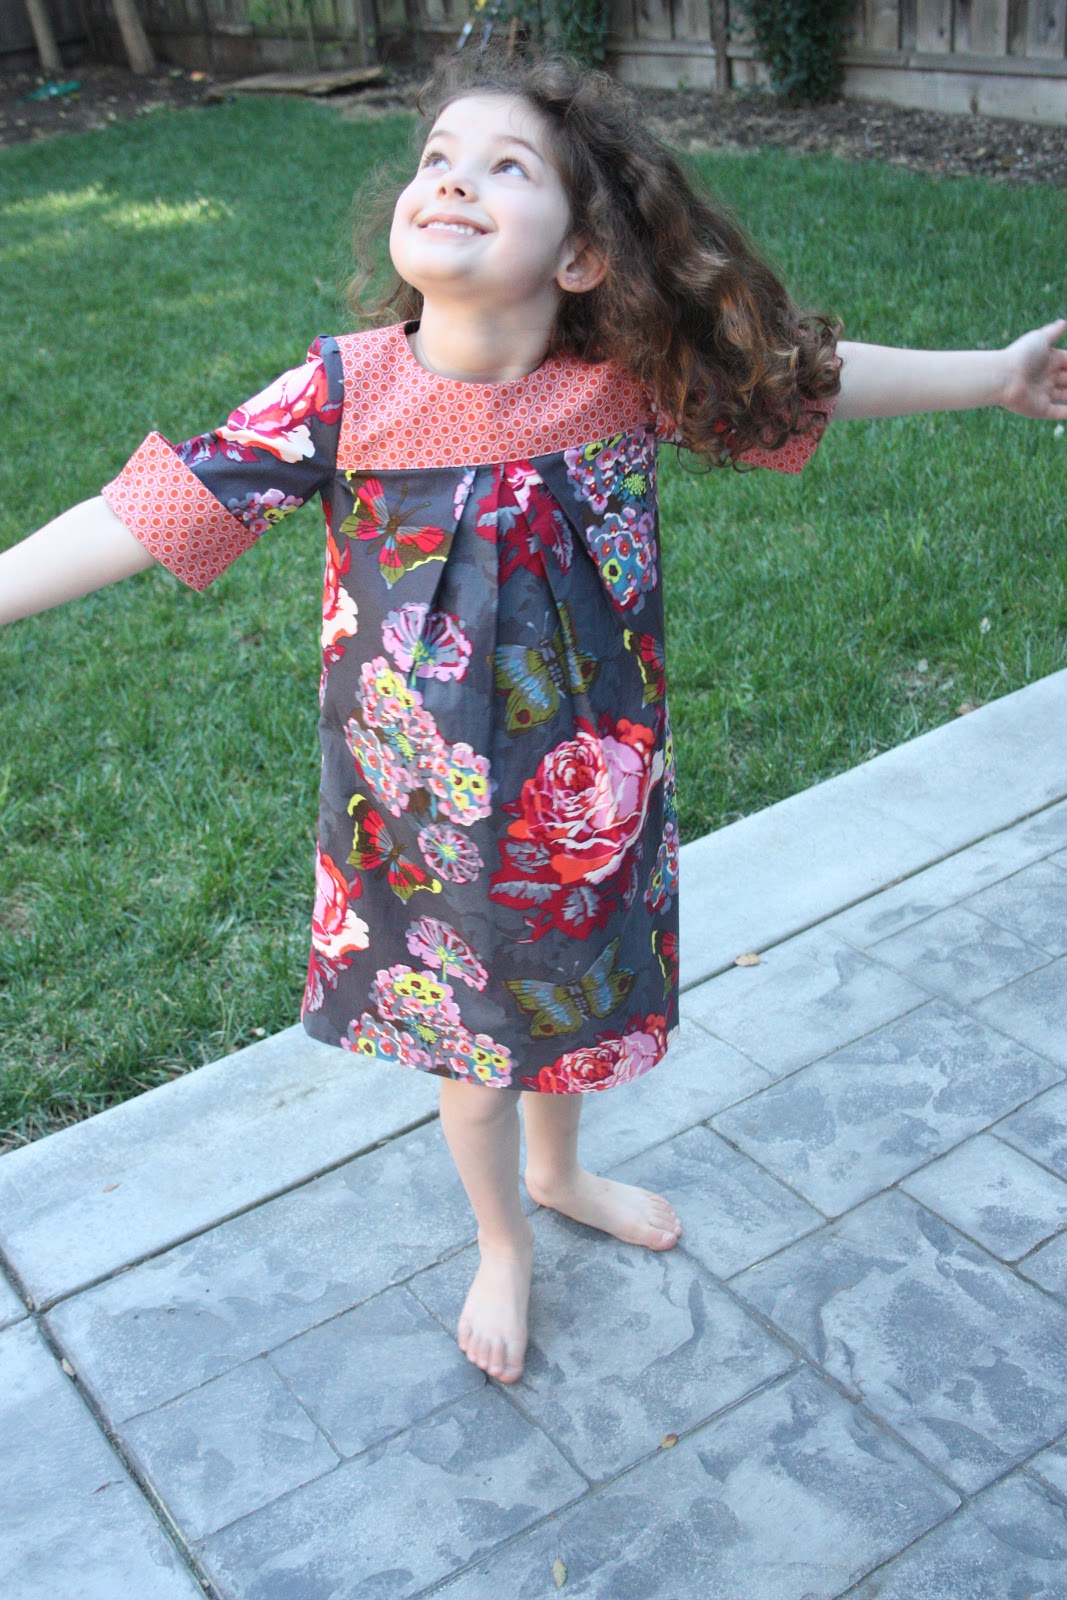
Dress 1


Review:  I sewed this dress first because I thought it was going to be very challenging with the sleeves, bodice, pleats, etc. I'm usually totally frustrated with Simplicity patterns, but I've never sewn a Project Runway pattern.  Surprisingly, this dress was not hard.  I wouldn't say it's easy, but I felt like it was well written and easy to follow.  I will definitely look at more Project Runway patterns in the future.


Dress 2


Review: I love this dress, and I loved making it.  Annee and I actually had a long distance sew-along the night I made this which made it even more enjoyable to sew.  I will definitely make this again.  The dress was easily sewn in couple of hours. I also think this is Grace's favorite dress out of the four I made.


Dress 3


Review: This dress is out of print and is highly coveted.  I'm not sure why the girls of Sugar City stopped selling this pattern, but from what I've gathered in chat rooms, maybe it was just more than they wanted to take on?? This dress is not for the faint of heart, and you might make yourself crazy if you try to make this all in one day.  Also, I skipped all hand sewing except the buttons.  The pattern called for hand stitching all of the trims - sleeve trim, yoke trim, and button bias trim. My hands would be crippled if I dared to take on all that hand sewing.  While this was a total labor of love (and maybe a swear word or two), I'm in love with the results.  I want one for myself.  I think this look is to die for.  Using the shot cotton took it to a whole new comfy level.

Dress 4


Pattern: Simplicity 2825


Review: Annee kept telling me this was a 2 hour dress.  I saved it for last because I was banking on it being so easy.  Really I think I saved the best for last.  I love the look of this dress, and it fits so well, and the fabric is adorable. It's a simple pattern and start to finish really could be made in 2 hours.  I'm sure I'll be making this again.

And that's a long wrap.  Sorry this is so long! I'm off to bed early tonight.  I do have pillows cut out, so maybe you'll see a whole new look in my living room soon.  Stay tuned!

Happy Sewing!

Sunday, March 3, 2013

What I loved about February...

1.  Liz magically showing up at my house at the beginning of February!!  It was the most amazing 24 hours of the month.


She is like a great big dose of motivation.  Everyone should have a Liz!  She helped me FINALLY finish Wally's "Inside Out" quilt.


Eleanor's had been done, but never photographed:


2.  My heart tree.  It's March, and I can't bring myself to put it away yet.


3.  My little girls (who hardly seem very little anymore) turned 8!  For some reason, we were rather stumped as to what to give them.  When suddenly it struck us that what they would love more than any "toy" would be a dedicated space all of their own.  A special little "reading nook".  It was the funnest birthday present I've given in a long time.  We took a picture late, late at night before my husband and I crawled into bed having finished making birthday magic:


They were thrilled.

4. I sewed dresses!  It feels like it's been forever since I've made any dresses.  I needed a break from quilts.  


Jane's dress is a Project Runway #2320 (for Simplicity) pattern I picked up at Joann's a few weeks ago.


I love the finished product.  The Anna Maria Horner Field Study fabric may also contribute to my feelings about the dress, but the pattern gets some credit too.  I was very excited about the contrasting yoke detail.  The pattern comes with several different sleeve options.  I let Jane choose the option she wanted.  Including my girls in the design process is pretty essential at this point for them to feel invested in the final product.  She loved those sleeves.  I would never have guessed that!


She's already worn it to school and to church, so that means it's a success.  With so many pattern variations, I think I could make it a few more times before I get tired of it.  Good pattern find!!

5.  An Olive&S Sew-Along that Liz and I had, after I dared her to sew four dresses in ten days!

On February 27th, Liz texted me a picture of the four dresses she wanted to make, and had already laid out and selected all of her fabrics!  I was sew impressed.  I asked her when she thought she'd be done with them.  She texted back, "in a year".  I texted back, "I dare you to make four dresses in ten days".  And that's pretty much all you need to say to a Markos (Liz's maiden name!).  I think before that day was over, her first dress was cut out.  I think she's on day 7 or 6 (counting backwards), and she has already completed two dresses!  She's totally going to make four dresses in ten days.


But for fun, I joined her on Friday night for a O&S dress sew-along.  We each worked until midnight local times, and had a dress by the end of it.


I used an all time favorite AMH LouLouThi fabric, paired with an orangy/red shot cotton.  I made the dress in a size 10.  Just as a reference.  Ruby has requested three new spring dresses (luckily this one counts as #1).  We have the fabric and the requested pattern for the next one.  But we'll see when we find the time.  I am not Liz, working on a dare.  I'm just a new mom of six, lucky to get a shower every other day :)  

Stay tuned for Liz's epic dress post.  You've got this Liz!

This concludes what I loved most about February.

Tuesday, February 26, 2013

Is it too late to talk about Valentine's Day??

I know we are almost hours away from the end of February, but I would be slightly remiss to not document all the things I MADE here at MOM West coast for Valentine's Day.  This is usually not my favorite holiday as I kind of think it's a Hallmark holiday invented as another reason for people to buy cards, candies, etc.  Who cares where my lackluster attitude came from, this year I decided to change it.


Copying an idea I found on Pinterest, I found these cute mailboxes at Target in the dollar section.  Then I headed to my local Saver's thrift store, and found 3 mismatched candlesticks all made from different materials (ceramic, wood, glass).  Then I spray painted the candlesticks black and mounted my mailboxes on top. (Sorry, no cool before and after pictures!)

Then I selected, printed out, and assembled 14 days of Valentines for my kids.  


Looking back I should have probably done 14 different ones for my hubby, but I guess we all know what I'll be doing differently next year.  (Don't worry he didn't get forgotten all together!)  If you are interested in finding more Valentine printables and card ideas, you should check out my Valentine's Day Pinterest board.


About a week before Valentine's Day, Annee asked me if I'd seen the Liesl's, from Oliver and S, heart ornament free pattern.  I told her I'd pinned it just a day or two before she texted me.  She told me she was going to try to make one, and I decided I needed to jump on that bandwagon too, so away I went to my scraps.  Hot pink, and apparently pink, are my favorite colors to have in fabric, so I actually had a nice variety on hand of Valentine's Day color fabric.  This project is a simple one, but it is kind of deceptive when it comes to how long it might take you to make these.  I think I did it in a day, but only because Grace ended up being sick, so we were home literally all day.  And I mean, what are you supposed to do when your oldest is sick and you can't leave the house.  Sew!  In the end, the time it took to make these, was totally worth it.  I love my Love Tree and will enjoy pulling it out every year.


Somewhere in the midst of the daily Valentines I packed a bag (we travel light), and headed to my house in the South with my 3 little ones for a much needed vacation.  Since I was so close to Annee in North Carolina, I planned with her husband to pull off the biggest surprise I've ever dreamed up.  It went off flawlessly, and my Sew Sister was totally surprised.  We only had 24 hours together, but that didn't stop us from organizing her patterns, finishing one of her baby quilts, going to dinner, finishing a top quilt and backing, and talking and laughing.  Annee told me I could just show up at her door whenever, and I plan to do it again, but stay longer next time.  And I might just have to repeat the surprise it was so darn fun!

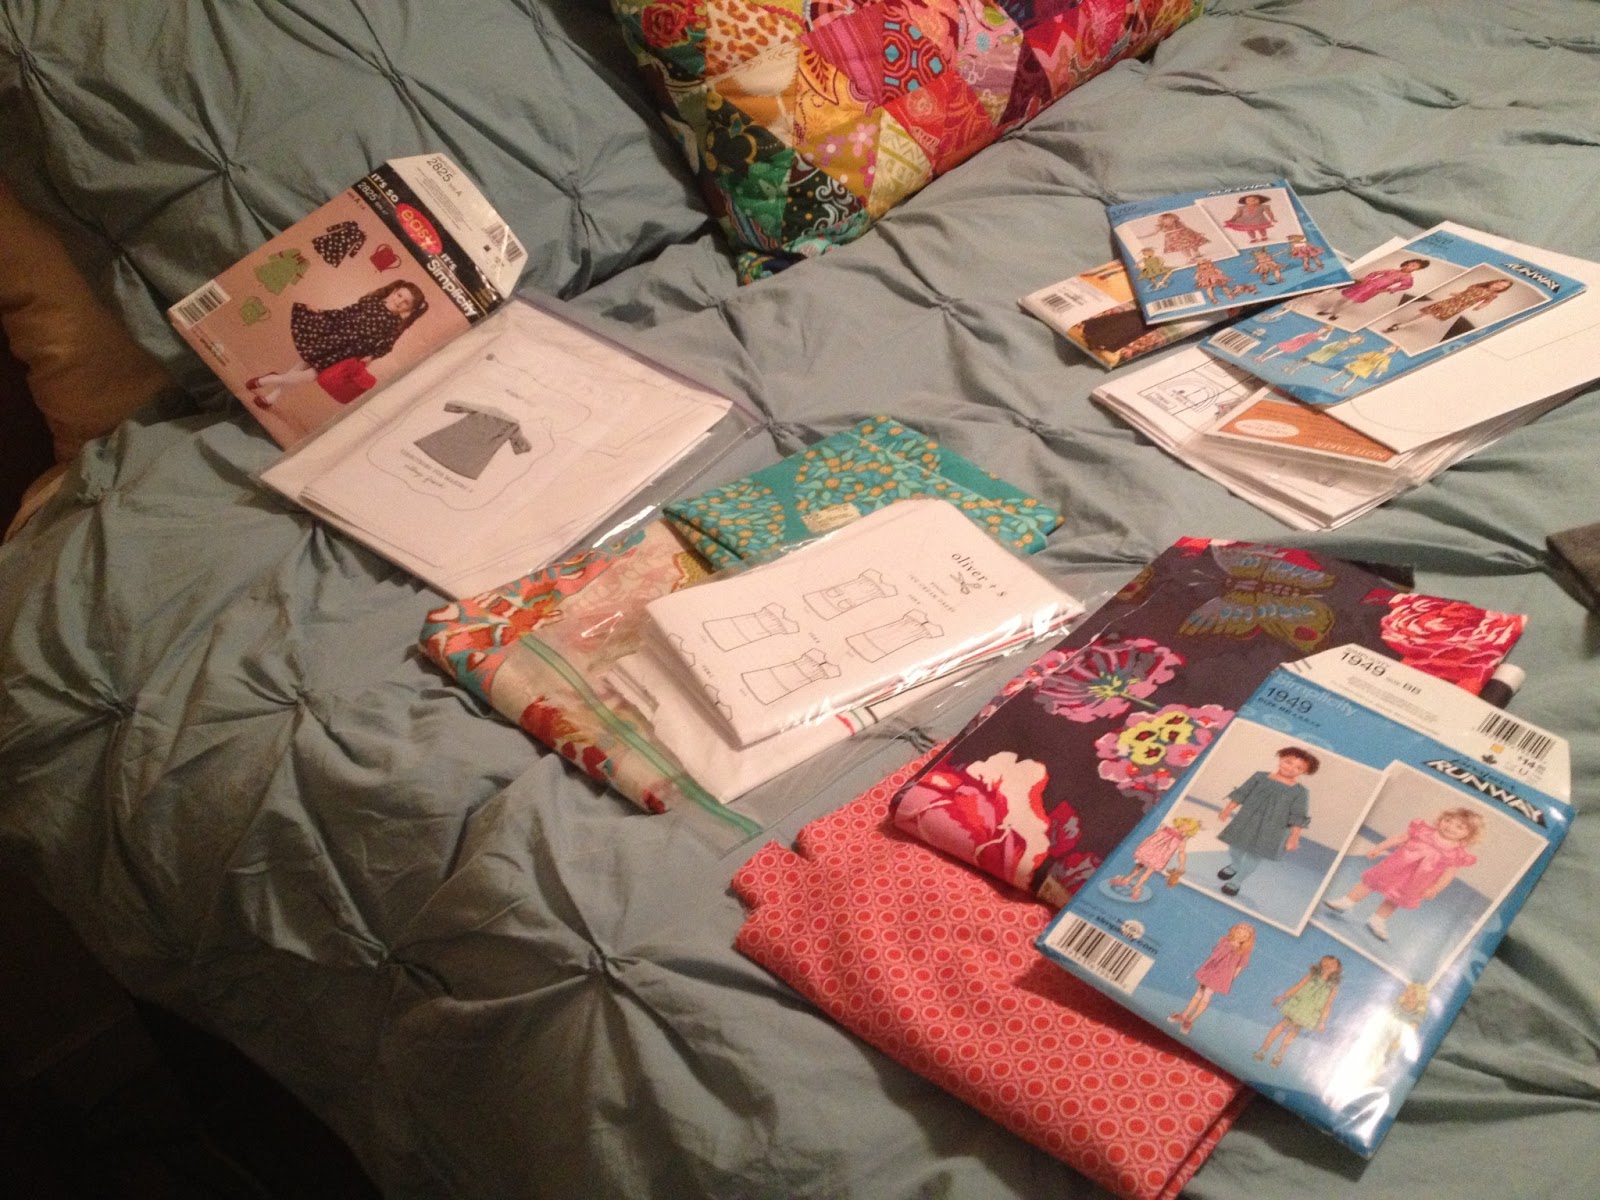
Okay, next up for me is a dress for Grace.  I've got patterns to choose from, I've got fabric staring at me while I sleep, so now I just need to find the energy to get the job done.

Til' I have a dress to share!

Friday, January 25, 2013

Wrapping up maternity leave...

Friends!  20 Weeks ago I had my second set of twins!!  

here's a picture from September when they were just two weeks old:


It was nearly 8 years ago that I had my first set of twins!  Here are all my twins together, taken back in November:


As awesome as it is to have two sets of twins, that's not all.  I had two singletons 13, and 11 years ago.  Bringing my total kid count up to 6!  That's right.  I am now the proud mother to six lovely children:


And in these past 20 weeks, not only did I birth this second set of twins, but I also allowed my oldest son to turn into a teenager.  And if you thought having babies and toddlers was hard, just wait until you get the pleasure of entering the world of Middle School with your child.  And watching them grow up into a mini-adult, but still they need you almost more than when they were a baby (if that is even possible!).  Plus, my two oldest are boys.  A teenage boy, and pre-teen boy.  If I thought nursing infants every 1.5 hours for two months straight was crazy, these two boys of mine could eat every hour, on the hour.  


In short, I've been a bit busy for the past twenty weeks.  

But things are starting to settle in.  The babies have gone through a sleep training boot camp.  I finally got my evening back because they go to bed at 7pm and stay asleep most nights until 1am for their little night cap.  Along with their new skill of night time sleeping came the skill of daytime nap taking.  I am starting to get a collection of hours during the day when the house is once again QUIET.  It's magical.  I will never be ungrateful for peace and quiet ever, ever, ever again.  


And through it all, I've dreamed of sewing almost everyday.  Sewing is my creative outlet.  My way of letting off steam.  My way of sorting out the pieces of the day.  My way of forgetting all my failures from the day.  My way of making order out of chaos.  And I've missed it sew much.  

In October, I did turn my little babies into owls for Halloween:


And it was probably also in October that I finally made them each a minky backed carseat blanket:


Other than those two simple projects, all sewing has been on hold.  On hold while I have worked so hard to survive, and find my footing.  

I feel like we're in a good place.  

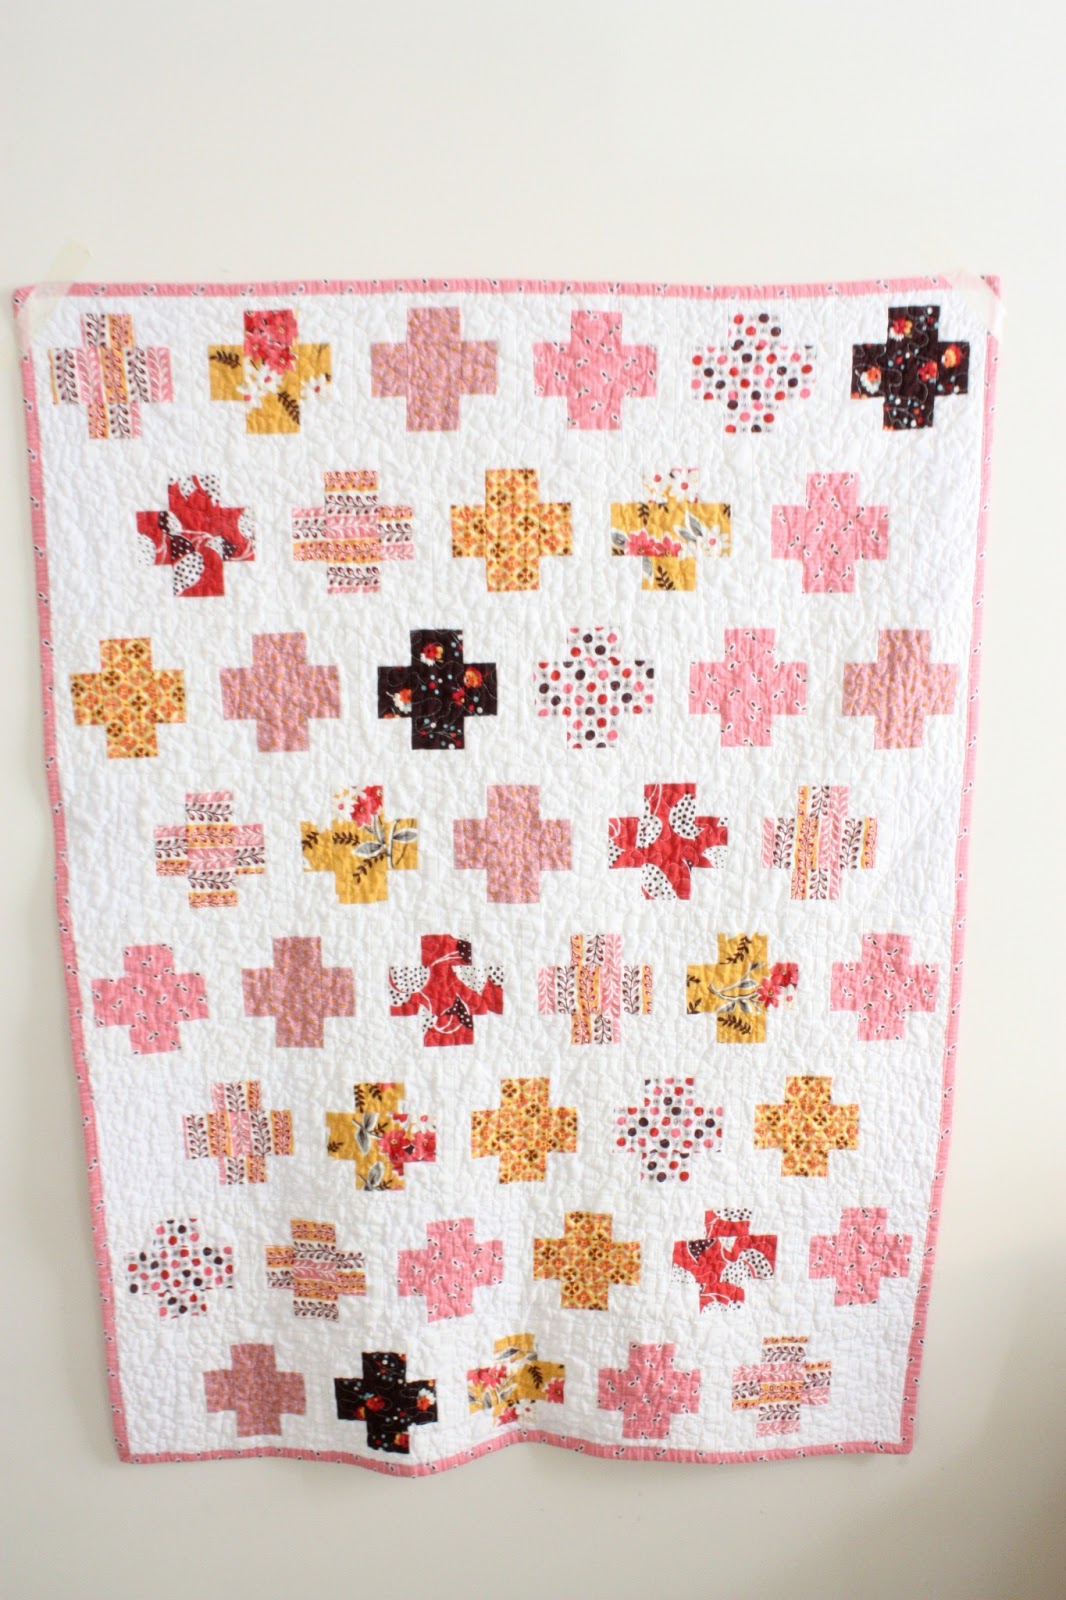
I am so excited that 2013 has proven to be a good year of sewing, so far.  The long dreamed of baby quilts that I conceptualized while I was still pregnant, are coming to life! 


This is the Plus Sign and the Inside Out quilt pattern from Cluck Cluck Sew.

I used my fat quarter collection of the Denyse Schmidt Free Market Fancy reprint that I bought sometime over the summer.  

I hope to get these quilted and bound next week.  But I cannot think of a better way of celebrating these past 20 weeks than with two completed quilt tops! 


Welcome to the World Eleanor Anne!


Welcome to the World Walter John!


Here's to hoping Maternity Leave is over.  And here's to hoping I get to resume creating things to showcase on MOM!    

*Felt numbers and letters are courtesy of my Sew Sister and Best Friend, Liz!  As are the #1 and #2 onsies.  Eleanor was born first, and Walter was born second.  Even though Walter is about three pounds bigger than his little big-sister.  

Wednesday, January 23, 2013

Scrappy Patchy Heart Tutorial


Grace has worn nightgowns to bed for years.  However, it's winter time here and while we do live in California, we live in an old and sometimes cold house.  When we wake up in the morning, it's chilly.  Grace requested more pajama pants, and I agreed.  For some reason I have it in my head that pajamas should come in sets (pants and matching shirt), and this time was no exception.  I got the idea to make a Scrappy Patchy Heart shirt for Grace, and I thought maybe you'd want to make one too.  Sew, here goes!

First you're going to need some supplies.

A variety of scraps
A shirt
Pinking sheers (*optional, but I highly recommend them)
A heart template (Bust out your 1st grade drawing skills and make yourself one!)


Next, cut your scraps into long rectangular pieces using your pinking sheers.  You don't have to use pinking sheers, but I don't hide my seams when making my scrappy patch, so using my pinking sheers will cut down on the fabric fraying.  My rectangles are about 13 inches long by no more than 2 inches wide.


Then sew the scrappy rectangles together.  I overlapped the rectangles about a 1/4" and then sewed about an 1/8" from the edge of the rectangular piece that's on top.


A couple of the scraps I used come from Sarah Jane Studios, and I love that the one fabric I have says, "just stay little."  It's exactly what I always say to Grace.


Okay, here's what my patch looked like before it took on a heart shape.


Okay, now take your scrappy patchwork, lay your heart template on it, and trace approximately a 1/2" from the template border.  The template is roughly the size of the heart you want to be seen on your shirt.  You're tracing a larger heart on your scrappy patchwork so you'll have something to sew your shirt to.


Once you've finished drawing your heart, cut it out with pinking sheers.


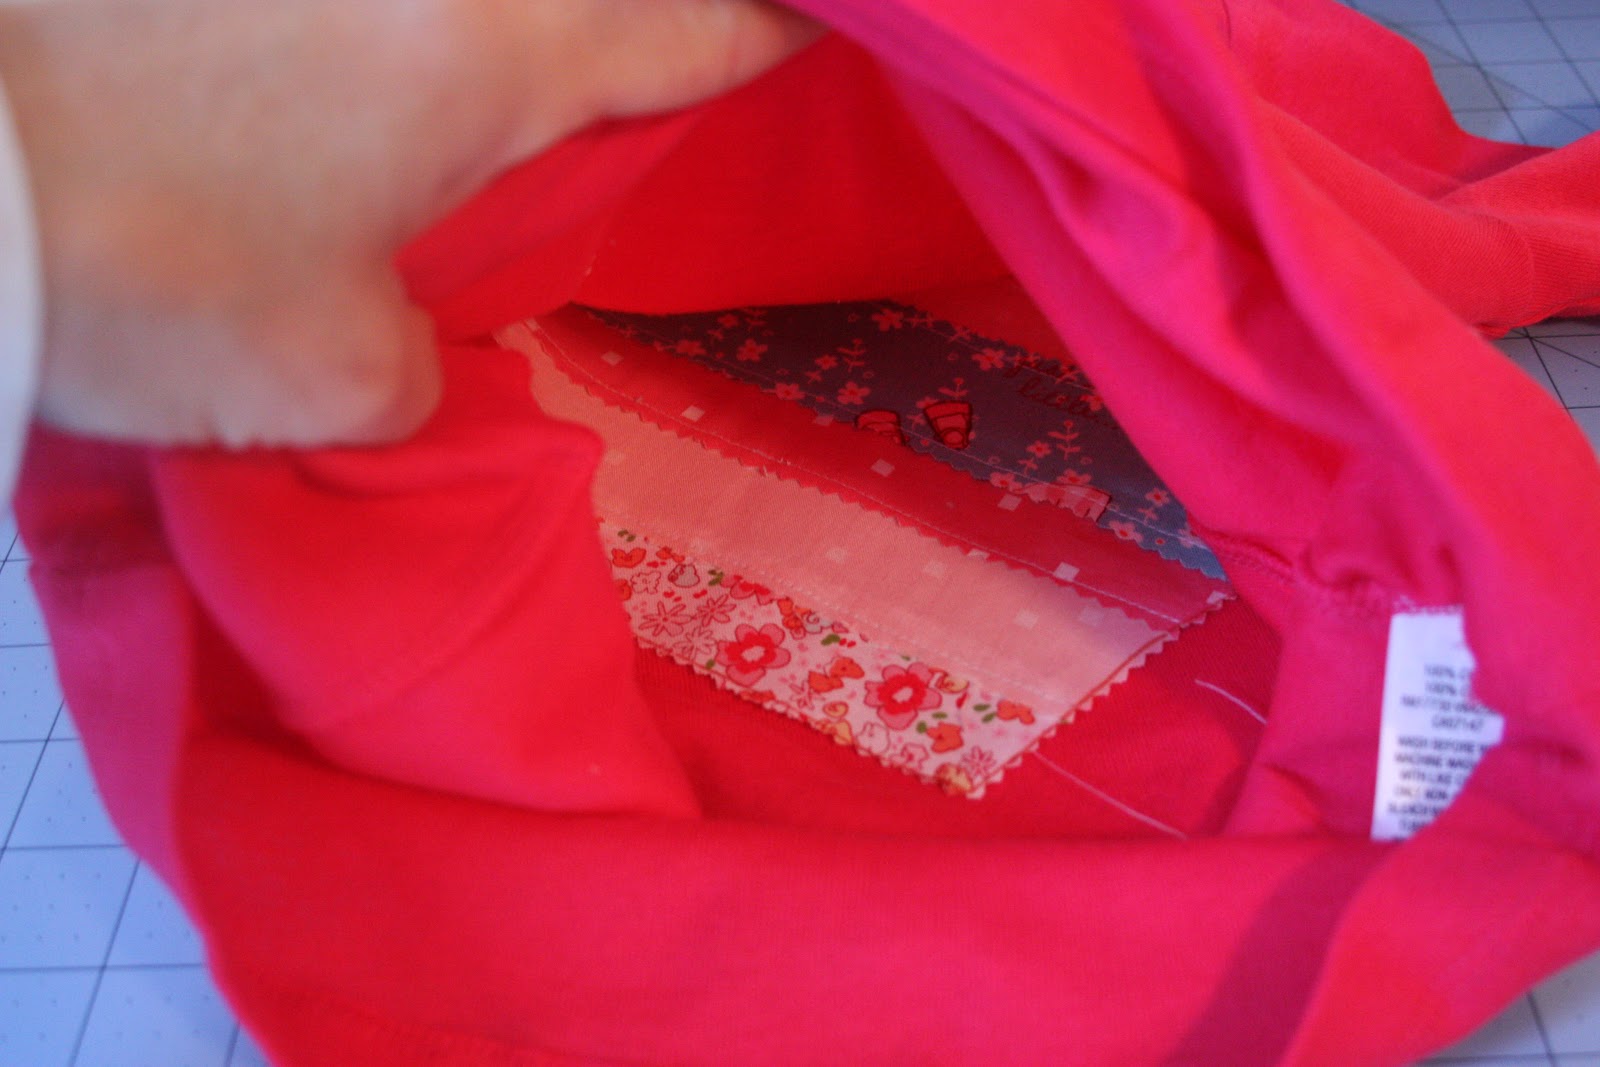
Now comes the trickiest part of the whole process.  Getting the heart template and the scrappy patchy heart matched up with the shirt in between.  Start by sliding your scrappy patchy heart inside the shirt.


Through a little trial and error, lots of help from pins and fingers, and tad bit of patience, you'll get the heart template pinned into place.  You will be sewing all around the heart template.  Pins are your friend, and you should use them liberally.


Also, make sure that you don't pin through the back of the shirt.  Your pins should go through the template, through the shirt, and go through the scrappy patchwork, but the pins should not go through the back of the shirt.  Also, don't get the pins too close to the edge.  As you're sewing around the heart, you'll want to leave the pins in the heart template so you'll know where to sew.


Now sew all around the heart template.  Your stitches should be right next to the template, but not on it.    It's just your guide as you sew.


When you are all done, this is what your shirt should look like.  


Next you'll want to cut out the knit inside the heart you just stitched.  Just be sure to not cut the scrappy patchwork layer.  Cut carefully!


I trimmed the knit to about an 1/8" away from my stitched heart border.


Then I found my model, and I asked her to try on her new shirt.


And, of course, her new pajama pants too.


She was totally happy with both of them.


Happy and willing to model.  It was perfect.


She asked if I she could wear her pajamas to school.  I think that means she likes them.


I'm hoping to show and tell a little about how I make my pajama pants.  I have finally figured out what my favorite pattern is, and I have a system that makes pants a very doable project in a limited amount of time.  Should my mothering duties allow, I'll find time to organize a little how-to.


I shared pictures from this blog post over on the new Made on Maple Facebook page.  If you're on Facebook, you should like MOM's Facebook page.  You'll get a little sneak peak of what's to come!

Related Posts Plugin for WordPress, Blogger...