Monday, April 30, 2012

Reversible Lazy Day Skirt


More Kid Clothes Week Challenge clothes for you!  I actually have one more outfit (pajamas), but George got sent to bed early tonight, so a photo shoot wasn't an option.  Hopefully tomorrow night will go better. 


Tonight I'm sharing a Lazy Day Skirt that I made for Grace that's reversible.  Reversible is my new favorite thing apparently.  I'm also dabbling in the print mixing that's currently a big fashion trend.  Jane and Ruby gave me the idea with their print mixing fashion statement.


Grace particularly liked this outfit because I told her it was cool and not cute.


Some time I'll share how I made this skirt reversible.  It's not hard, and it's like getting two skirts for the work of one.  I also finished this off by putting some rick rack in the hem.


The flower side probably didn't need the rick rack, but I thought it would add to the cute yellow chevron print on the opposite side.


What pattern should I mix with the Chevron?!


Grace thought a mani/pedi would dress the outfit up even more, so I gave her one in exchange for the cute pictures before school.  Not a bad deal?!


Okay, one last KCWC post tomorrow hopefully!


Sunday, April 29, 2012

Marissa Dress

I really got into the Kid's Clothes Week Challenge this week.  I almost think it was better that I stumbled upon it instead of anticipating it for weeks.  I wasn't planning on sewing every day, but I did, and I'm so glad.  

As promised the Sunday day dress known as the Marissa Dress.  Annee has sewn this one a couple of times.  Every time she spotlights it, I've thought it looks like it will take forever and is probably pretty hard.  Surprisingly this dress didn't take me forever and wasn't that hard.  I can't believe I put off sewing it for so long.  


You'll see more of these for Grace for sure.  She loved it as much as I did.  I love the fitted bodice on this dress.  The pattern was so well written that while it may look tricky and complicated the bodice came together much easier then I expected.


I also love the full skirt.


And Grace just loved everything about it.  In fact these pictures were taken several hours after church.  She just didn't want to get out of the dress.  It's feminine and comfortable.


It's the perfect dress to look fancy for church in, but then to come home and run in the backyard in. 


I can't sing enough praises to this pattern nor could I stop taking pictures.  Grace was fed up with me by the end.  I could have taken a dozen more pictures, but I think you get a feel for the dress.  Or should I post more of it tomorrow??


Not really.  Tomorrow I'll show you the two other things I made this weekend for the KCWC.  Grace got another article of clothing, and then I felt badly for George, so he too got a little something.  Once I get pictures I'll be sure to share.  Now I can't decide if my sewing room is going to get a break because I sewed so much last week, or if this challenge will help me start chipping away at my mental sewing "Things To Sew" list.  I'll be sure to keep you posted!

Friday, April 27, 2012

Kid's Clothes Week Challenge

I had no intention of taking on Elsie Marley's Kid's Clothes Week Challenge this week.  In fact, I didn't even know it was this week until Monday which was day 1 (or was it day 2).  However, I've been dying to make a Marissa dress for Grace, and I've been lacking some motivation.  I love a good challenge though, so this week was just what I needed.

Now I bet you're thinking I'd be spotlighting the Marissa dress in this post after that introduction.  Wrong. It's a Sunday dress, sew I'll take pictures of Grace in it on Sunday to share.


What I'm really sharing are my Knot Shorts that I took on yesterday.  


It's funny how when you are in the  middle of making something, for me it was the Marissa dress, all these other ideas just come to you of things to make, sew, cook.  Creativity is addictive and has a mind blowing domino effect.  I just don't have enough time for everything!


But, I'm off topic.  Back to the Knot Shorts.  Annee had an Epic KCWC last year, and she took them on, but gave us the hot tip of making sure that our patterns had a front and back piece to them.  Check.  I did that.  I then decided that since I've sewn sew many Quick Change Trousers that are fully reversible, that I would make these shorts for Grace fully reversible.


Just know when you decide to change a pattern or transfer a technique from one pattern to another it's going to make your head hurt.  At midnight I gave up because my brain couldn't figure out how to make the fully reversible Knot Shorts work.


Then at 3 a.m. for a middle of the feeding for Baby Hank I started going over it again and again how to make it work.  I figured it out, but I wasn't going to head to the sewing room then, but hoped and silently prayed I'd remember in a few short (pun intended) hours when I woke up for the day.


Baby Hank woke me up at 6 a.m., and while he played with mega blocks, I got some quality time with my seam ripper.  And by school time, I dropped her off in her new Knot Shorts.  These probably aren't the fabric of my dreams, but it's what I had on hand.  And for a kindergartener, I decided it was perfectly acceptable to wear the crazy loud shorts to school.  Seeing as Grace didn't know a pair of shorts before today and warm temperatures are upon us, I can promise more Knot Shorts are in our future.


I added a heart to the back side of zig zag side of the shorts, so Grace would know that I made these with love and also sew there was no confusion between the front and back of the shorts.


If I find some extra time (ha!) in my days, I'll put together a tutorial on how to make the shorts reversible.  It might have to wait though because I have another dress I'm hoping to sew quickly before the KCWC is over.  It will require a pattern from JoAnn's.  Let's hope my JoAnn's can come through for me!!

Over and out.

Thursday, April 19, 2012

Easy Zipper Pouch

After I made my circle pouch a couple weeks ago, I was a little sad that I couldn't put more into the small pouch.  Most of the time I leave my house I need my keys, phone, and driver's license.  Oh, and some money or credit card is very handy as well.  I have purses, but I just think they are too big to haul around when I really only need a couple of items.

Then I had a friend's birthday come up and I wanted to make her something, but I only had one night to sew something.  A year ago I would have made her a darn quilt because that's how I rolled back then, but these days I'm lucky to even have a thought about sewing something for someone else let alone actually make something!


I then remembered this pouch I pinned on Pinterest.  I labeled it "easy zipper pouch" so I thought I could easily make it in a night.  To make it a little fancier, but not to complicate it too much, I had the idea to combine the easy zipper pouch tutorial with the circle pouch tutorial.  I did this because I wanted my friend's pouch to be lined, and I think the added batting gives it more weight and makes it feel more substantial.  In the end I was totally pleased with it, and only sad that I didn't have one for myself.


I used all the measurements for the fabric from the easy zipper pouch.  In addition to the main fabric pieces that the tutorial calls for, I cut lining pieces and batting pieces.  Then I followed the instructions from the circle pouch tutorial to assemble everything.  Hope that's not too confusing.


I've had fabric matched and sitting on my dryer waiting for me to make myself an easy zipper pouch for a while.  Today during nap time and rest time I decided to skip showering to sew.  I think I made the right decision!

Now I have my very own easy zipper pouch that can carry my phone, keys, I.D., and credit card/money.  It could also carry a small bottle of hand sanitizer which I was sad I didn't throw in my pouch this afternoon while I was out running errands with my kiddos.  Their hands are always so grimy to me.


With the end of the school year quickly approaching, I'm thinking these easy zipper pouches would make nice teacher gifts.  I'll get on that.  Or since their *easy*, I know I can procrastinate until the night before. 


Next on the sewing horizon for me is hopefully a quilt.  Did you get caught up in the re-release of the Denyse Schmidt's Flea Market Fancy??  I did, and now I need to do something with all the fat quarters I have.  I'm just not sure I'm up to the task of a quilt yet.  I'll be sure to keep you posted!

Wednesday, April 18, 2012

30 Minute Wreath


Sew, as you can tell from my lack of post last week, I was not up to the challenge of posting every day like Annee did the week before.  I'm sure no one really noticed, and Annee wasn't mad at all.  It wasn't that I didn't have things to share, but rather I was swimming in birthday prep for my big 4 year old.  There wasn't a lot of sewing involved for preparing for the party, but I did manage to whip out a monogrammed shirt for all George's friends who came to celebrate.


Also, all week long I had my Birthday Balloon Wreath adorning the front door, so all those who came to visit would know that they needed to wish someone a happy birthday.  Technically I could leave the Birthday Balloon Wreath up until August, because we have birthdays every month until then, but I need a break from celebrating.


Two (maybe 3) week ago, I whipped this fast 30 Minute Wreath up in the Laundry Room.  I found the above wreath on Pinterest.  At first I thought the fabric on the wreath was black and white polka dot, but turns out it's navy blue not black.  I had black and white on hand, and I think my wreath turned out just as cute.


There is no sewing involved, and I'm not kidding when I say it took me 30 minutes.  Probably if you have no crafting experience at all it might take you an hour.

I just cut 2 1/2 inch strips of fabric and wrapped it around my 16 inch straw wreath (DON'T take off the plastic on the wreath) using straight pins to keep the fabric in place.


Once the wreath was wrapped I used my trusty glue gun to make a felt bow.  I thought I used a tutorial to make my bow, but I'm not sure what one I used.  Maybe I'll come up with a how-to and post one later.  It only takes 3 pieces of felt and two shots/lines of hot glue.  Seriously simple.


There you go. Another wreath.  Because I'm really lacking in wreath decor at MoM West Coast!

Monday, April 16, 2012

Spring Break Sewing.

The kids were off of school for a week, and we wanted to take a trip to the beach for a few days.  The ladies got to pick out new bathing suits, and somehow they both felt like a swimsuit cover up was required attire on top of the new suits.  I don't know if it's just me, but I have a hard time wanting to spend money on the cover-ups.  They are always so simply made, that I am plagued with the thought, "I could make that myself".

To get out of the store without a daughter in tears, I hastily promised I would make her a swimsuit cover up!  When I got in the car, I wondered to myself what my plan was...

Thanks to my best friend Google, I quickly stumbled upon this darling tutorial from one of my favorite crafty/sewing blogs, Crafterhours:


I quickly found a few old Target beach towels and thought I'd give it a try.  This is a draft-your-own-pattern type of a project.  For me, that is always a risky proposition.  I never quite know if it's going to turn out.  Lucky for Jane it did, because there was NO time to spare:

Turned out pretty cute.  


Except, maybe it's a little too long?


And maybe I could have done the A-line shape better?


And I hated doing the bias tape binding on the neck and arms.


But it was the perfect beach accessory, and Jane loved wearing it!


Um, probably I need to make another one.

Tuesday, April 10, 2012

Patchwork Curtain

A while back Annee pinned this inspiration photo.


Not only is it a beautiful patchwork shower curtain, but all the fabrics are Anna Maria Horner.  For the love of Anna Maria Horner, I wanted this in my house!!  However, I don't have a shower that requires a curtain, so I pinned this to my "For the Home" board and thought I'd patiently wait until I moved to a new house that needed a shower curtain.

Then I had a friend come over and she was looking at the curtain that I had hanging between my sewing room/laundry room and kitchen.  She asked where I got the fabric, and I told her it was on the clearance table at JoAnn's.  I had only hung a curtain there for when my mom comes to stay.  (My mom has the privilege of sleeping on our laundry room floor.  Have I mentioned I live in a small house?!?)  My friend said, "With all your cute fabric, I'm surprised you didn't make something brighter and more cheerful."  Funny.  I'd never really thought about how not very cute the curtain was because I never really have it hanging down.  I really only use it when my mom comes.  But, my sewing room is usually an eye sore, so it would be nice to have a cute curtain to shield the usual explosion of fabric, clothes, threads, machines, ironing board, etc.


Then I remembered the shower curtain.  An idea was born.


I knew I wanted my curtain to be all Anna Maria Horner fabric.  I would have loved to have made my curtain out of Garden Party, but did you know that you can NOT buy Garden Party online.  Well, you can, but you are going to pay a serious premium for it.  So I settled on the beautiful Loulouthi line.

My two favorite fabrics in the curtain.

I bought 10 different half yard prints of the LouLouthi fabric and cut 9 in by 9 in squares.  Laid them out a hundred different ways on my kitchen floor, decided on a pattern, and sewed my squares together.  I added a lining to the back, and I just used curtain clips to hang it.  I figure if I ever move I can always adjust this curtain to fit a shower or any other space.


Now I have a beautiful curtain hiding the sewing room mess.  It also keeps my curious little crawler out of the sewing room.  He thinks he can't crawl through the curtain.  I'm sure he'll figure out that it's just a curtain eventually, but I'll enjoy not having to worry about button or pins or scissors laying around behind the curtain for another day or two.


This curtain helps me want to be in the kitchen which is a good thing because I swear I'm in the kitchen all the time!  Some days I'm convinced I spend more time in my kitchen then I do in my bed.  At least now it's a prettier place to be.

Monday, April 9, 2012

Easter Attire and a Big Bow Dress How-To


Last week when I got the text from Annee about her inspiration bow dress, and after I pinned the inspiration dress to my Make for Grace board, I knew I needed to make one.  Part of the excitement of sewing is figuring things out.  I wanted to not only figure out how to make the bow dress, but I also wanted to full line it.  I can't remember why the lining because such an important aspect of the dress for me, but it was.  And made a sample dress on Wednesday night, and I figured out the bow and the lining.  I was so excited about the prospects of a cute Easter Bow Dress, and then I got a vision of my boys wearing seersucker pants along side her.  I held on to the vision, and away I went Thursday to my JoAnn's for some fabric.

Then it was a matter of just getting things sewn.  Last night around 10 p.m. I put the finishing touches on my boys trousers.  I'm not going to lie.  I was totally giddy last night.  When I finished Grace's dress on Friday night, I was really nervous that I wasn't in love with it being all yellow.  However, after I finished my boys outfits last night, I was so excited.  I had a vision of what I thought it would all look like together, and in the end I really feel like I created the look I was going for.


Henry sported a little yellow on his back yoke to match his sister.


George was thrilled with new pants.  I was really nervous about the fabric being bothersome (note: JoAnn's seersucker is expensive for the crumby quality of fabric), but George didn't even notice.  It probably also helped that I used the same pattern for his pants that I used for pajama pants, so the cut is very comfy.  


Grace's dress, in my opinion, stole the show.  But, if you ask Grace she wasn't happy with it.  It wasn't fancy enough for her, and she claimed it wasn't modest.  Quote, "Mama, I just really don't feel modest in this dress."  I've ruined her by making her wear leggings to school every day.  I think she wanted leggings, but I took care of the tears with the promise of some Easter candy.

Do you want to make your own Big Bow Easter dress??  Easy peasy.  Start by purchasing this pattern, Simplicity 4927.  It's the best $3 pattern you could buy.  It's a basic A-line pattern, and the options are endless for what you could turn it into.  The pattern runs 1 to 1 1/2 sizes large.  Grace wears a size 5, but I used the size 3 pattern pieces for her dress.  I added 2 inches to the length, and I also took an inch off the armholes.  In the picture below I cut off the brown line making my armholes bigger and the neckline not so boxy.


Next when I cut the front dress piece, I placed it two inches away from the edge of the fold.  This added 4 inches to the width of my dress.  Now Annee only placed her pattern piece one inch away from the edge.   My box pleat is a little big, so this is all a matter of personal preference.

**I forgot to take a picture of this with my yellow fabric, so I had to do a special photo shoot just to show you what I did.  Don't let the orange fabric fool you!**


Now in the inspiration photo, the dress has two pleats in the front.  Annee in her blue bow dress just did one pleat, and I agreed with her that it looks just as cute, and therefore, I did only one pleat.  To make my pleat, I place a pin at the top edge of the neckline where I added the extra fabric.


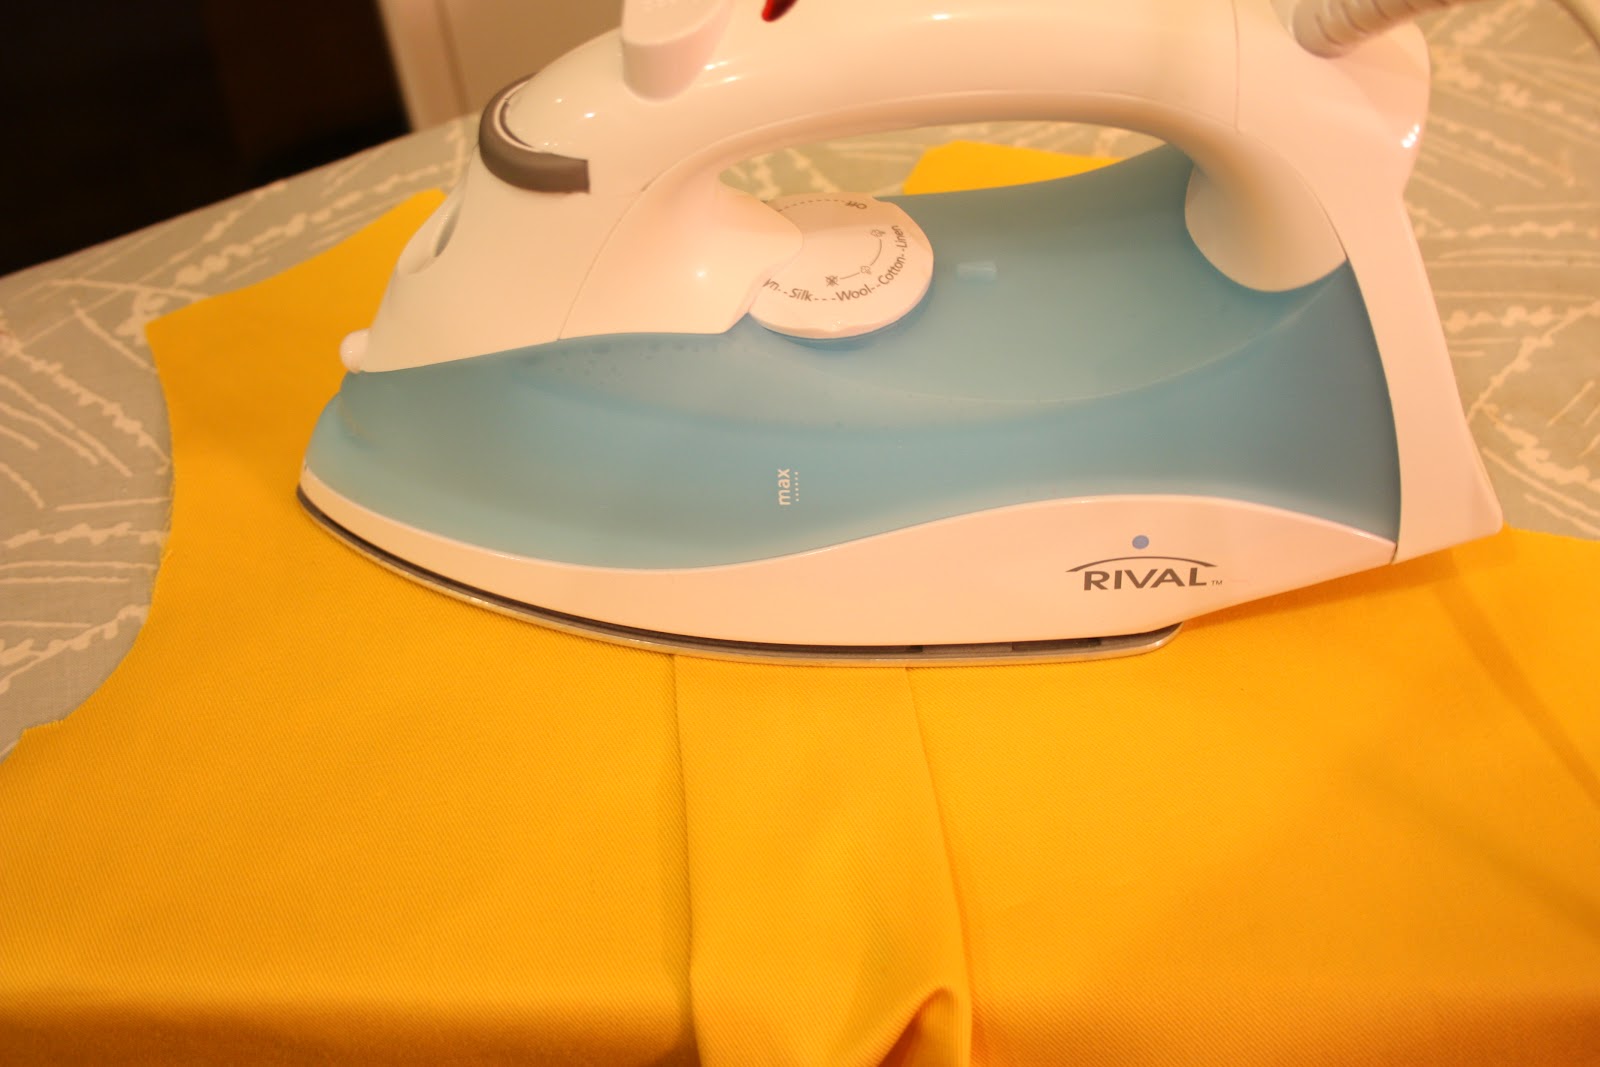
Then I opened up the pleat and ironed it flat.


Then I opened up the pleat.


On the outer most creases, I made a buttonhole large enough for a 3/4 inch button.  The bottom of the buttonhole is 2 1/2 inches from the top of the neckline.

Sorry, the buttonhole picture is blurry!


Then I folded my box pleat back up, and did a basting stitch to keep it in place.


I then finished my dress.  Now I did figure out the lining, but that is a how-to for another day.  After basting the box pleat you would just follow the rest of the instructions that come with the pattern.

To make the bow, you need two rectangles, 10 inches by 6 inches.  Sew them right sides together leaving an opening on one side for flipping.  Turn right sides out, and topstitch around the bow.  Sorry, no pictures of this step.  Then as your final step to the dress, carefully slide your bow through your buttonholes.  And, then you have your own Big Bow Dress!!


I recognize this isn't the greatest how-to.  If you need more help or have any questions, please leave me a comment.


For a girl who was really disappointed with this dress, Grace really knew how to hide it.  


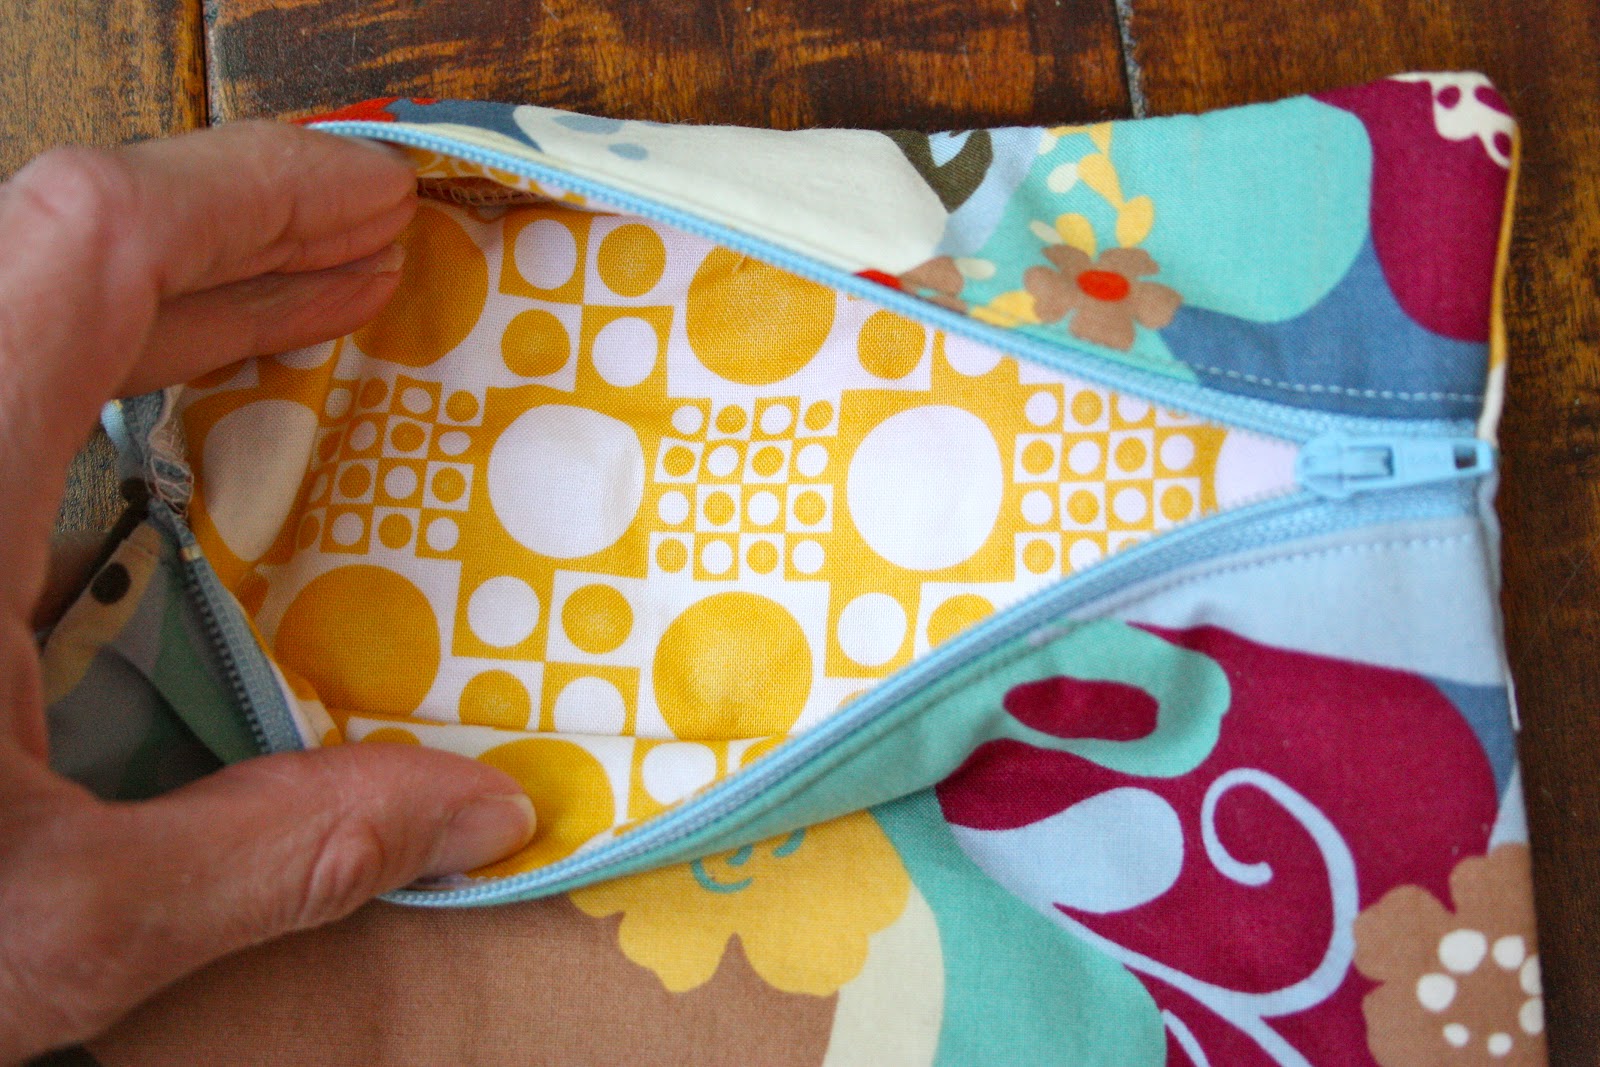
I added a zipper to the back of my dress.  This was the first zipper I put in a dress.  Well, second if you count my sample dress.  I'm sure it's not technically correct, but I think it works and looks fine.


And that's an Easter attire wrap!  Whew.  It was just a little bit exhausting getting everything together, but in the end any lost sleep was worth it.  I think!?!


Stay tuned.  It's my week to post here on Made on Maple.  I've got lots of fun things to share.  Get sew excited!

Related Posts Plugin for WordPress, Blogger...