

Grace has worn nightgowns to bed for years. However, it's winter time here and while we do live in California, we live in an old and sometimes cold house. When we wake up in the morning, it's chilly. Grace requested more pajama pants, and I agreed. For some reason I have it in my head that pajamas should come in sets (pants and matching shirt), and this time was no exception. I got the idea to make a Scrappy Patchy Heart shirt for Grace, and I thought maybe you'd want to make one too. Sew, here goes!
First you're going to need some supplies.
A variety of scraps
A shirt
Pinking sheers (*optional, but I highly recommend them)
A heart template (Bust out your 1st grade drawing skills and make yourself one!)

Next, cut your scraps into long rectangular pieces using your pinking sheers. You don't have to use pinking sheers, but I don't hide my seams when making my scrappy patch, so using my pinking sheers will cut down on the fabric fraying. My rectangles are about 13 inches long by no more than 2 inches wide.

Then sew the scrappy rectangles together. I overlapped the rectangles about a 1/4" and then sewed about an 1/8" from the edge of the rectangular piece that's on top.

A couple of the scraps I used come from Sarah Jane Studios, and I love that the one fabric I have says, "just stay little." It's exactly what I always say to Grace.

Okay, here's what my patch looked like before it took on a heart shape.

Okay, now take your scrappy patchwork, lay your heart template on it, and trace approximately a 1/2" from the template border. The template is roughly the size of the heart you want to be seen on your shirt. You're tracing a larger heart on your scrappy patchwork so you'll have something to sew your shirt to.

Once you've finished drawing your heart, cut it out with pinking sheers.

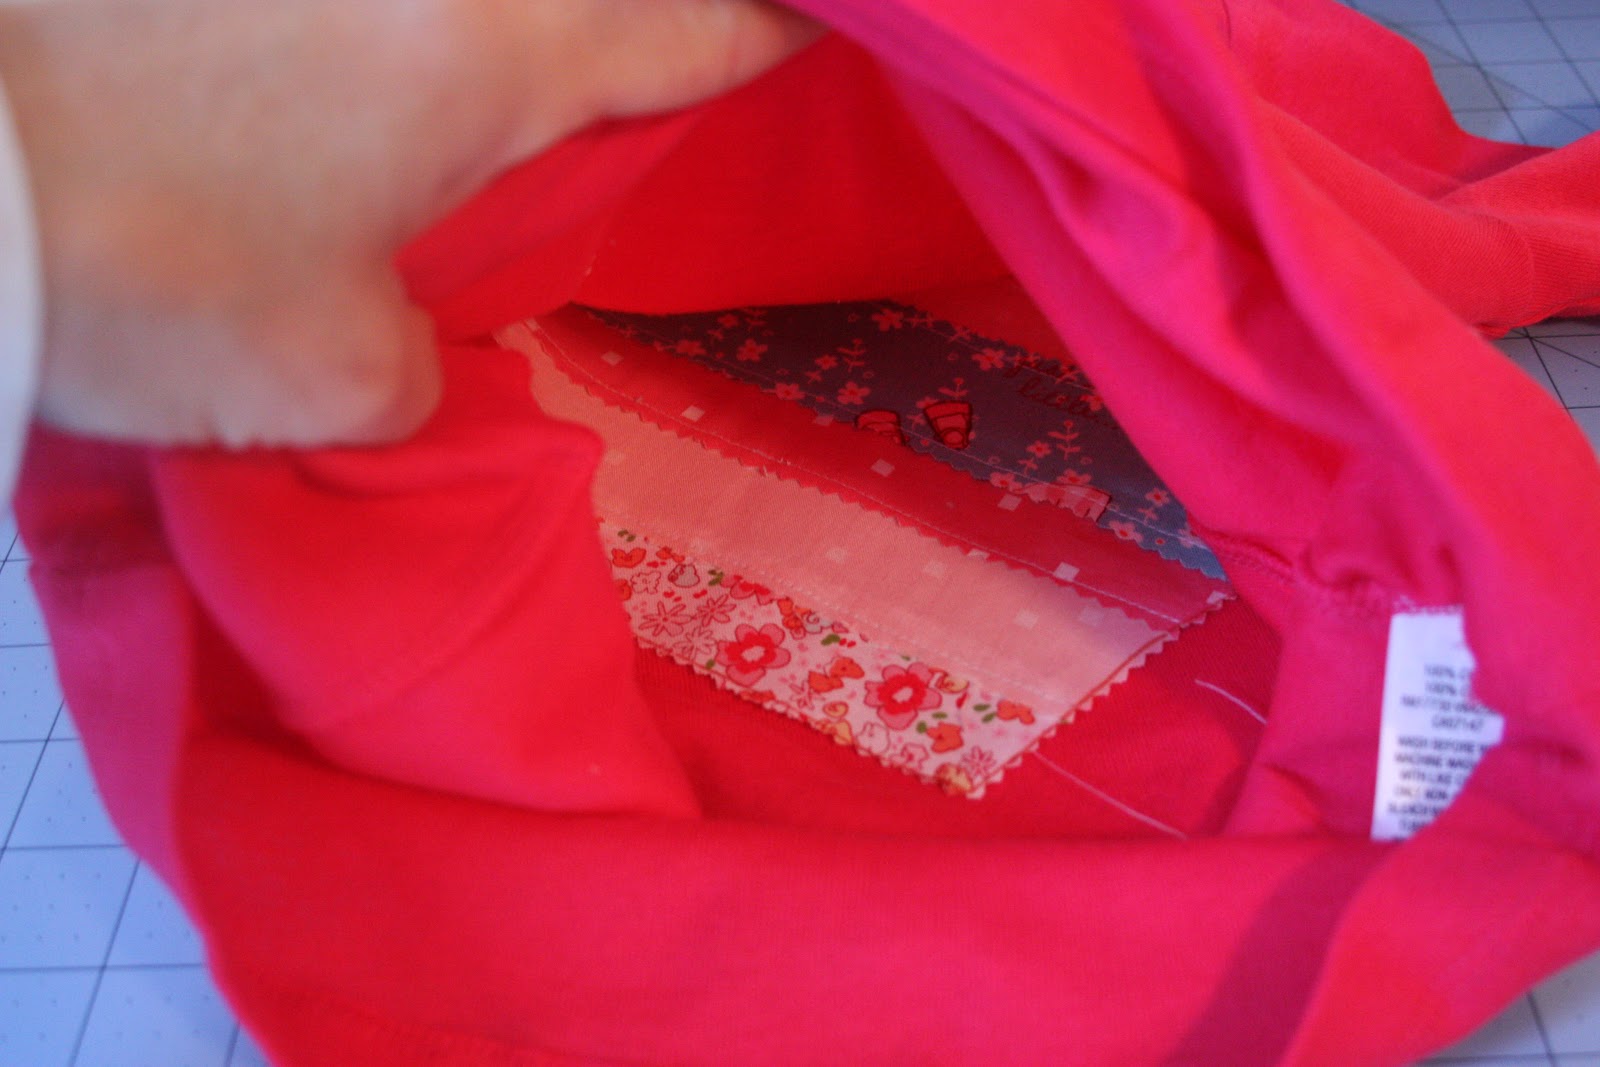
Now comes the trickiest part of the whole process. Getting the heart template and the scrappy patchy heart matched up with the shirt in between. Start by sliding your scrappy patchy heart inside the shirt.
Through a little trial and error, lots of help from pins and fingers, and tad bit of patience, you'll get the heart template pinned into place. You will be sewing all around the heart template. Pins are your friend, and you should use them liberally.

Also, make sure that you don't pin through the back of the shirt. Your pins should go through the template, through the shirt, and go through the scrappy patchwork, but the pins should not go through the back of the shirt. Also, don't get the pins too close to the edge. As you're sewing around the heart, you'll want to leave the pins in the heart template so you'll know where to sew.

Now sew all around the heart template. Your stitches should be right next to the template, but not on it. It's just your guide as you sew.

When you are all done, this is what your shirt should look like.

Next you'll want to cut out the knit inside the heart you just stitched. Just be sure to not cut the scrappy patchwork layer. Cut carefully!

I trimmed the knit to about an 1/8" away from my stitched heart border.


Then I found my model, and I asked her to try on her new shirt.

And, of course, her new pajama pants too.

She was totally happy with both of them.

Happy and willing to model. It was perfect.

She asked if I she could wear her pajamas to school. I think that means she likes them.

I'm hoping to show and tell a little about how I make my pajama pants. I have finally figured out what my favorite pattern is, and I have a system that makes pants a very doable project in a limited amount of time. Should my mothering duties allow, I'll find time to organize a little how-to.

I shared pictures from this blog post over on the new Made on Maple Facebook page. If you're on Facebook, you should like MOM's Facebook page. You'll get a little sneak peak of what's to come!


1 comment:
Adorable! I am going to have to try this real soon. I love it so. And just in time for Valentine's Day!
Post a Comment