Monday, August 29, 2011

The Baby Shower Committee

This past weekend, I was part of a Baby Shower Committee.

(I hope you are laughing when you read that word.  It sounds very official, our committee was substantially less official.  Mostly it means no single person had too much to do.  That is the most awesome way to throw any party.)

Some of my responsibilities included
-Location
-Decorations
-Drink Dispenser


I like to believe that I performed my duties to the very best of my abilities...


Rather than going over the top with a theme, I simply went with a color palette.


Our guest of honor is having a little boy so my yarn wreath was able to get put to use!


The joy of party throwing via committee is that all of that beautiful food came from other people!  I only provided the lemon bars, which you should probably make today.  


These are the best lemon bars you will ever make or eat.  I promise.


Another joy of party throwing is the residual benefit of leftover fresh flowers scattered around the house.


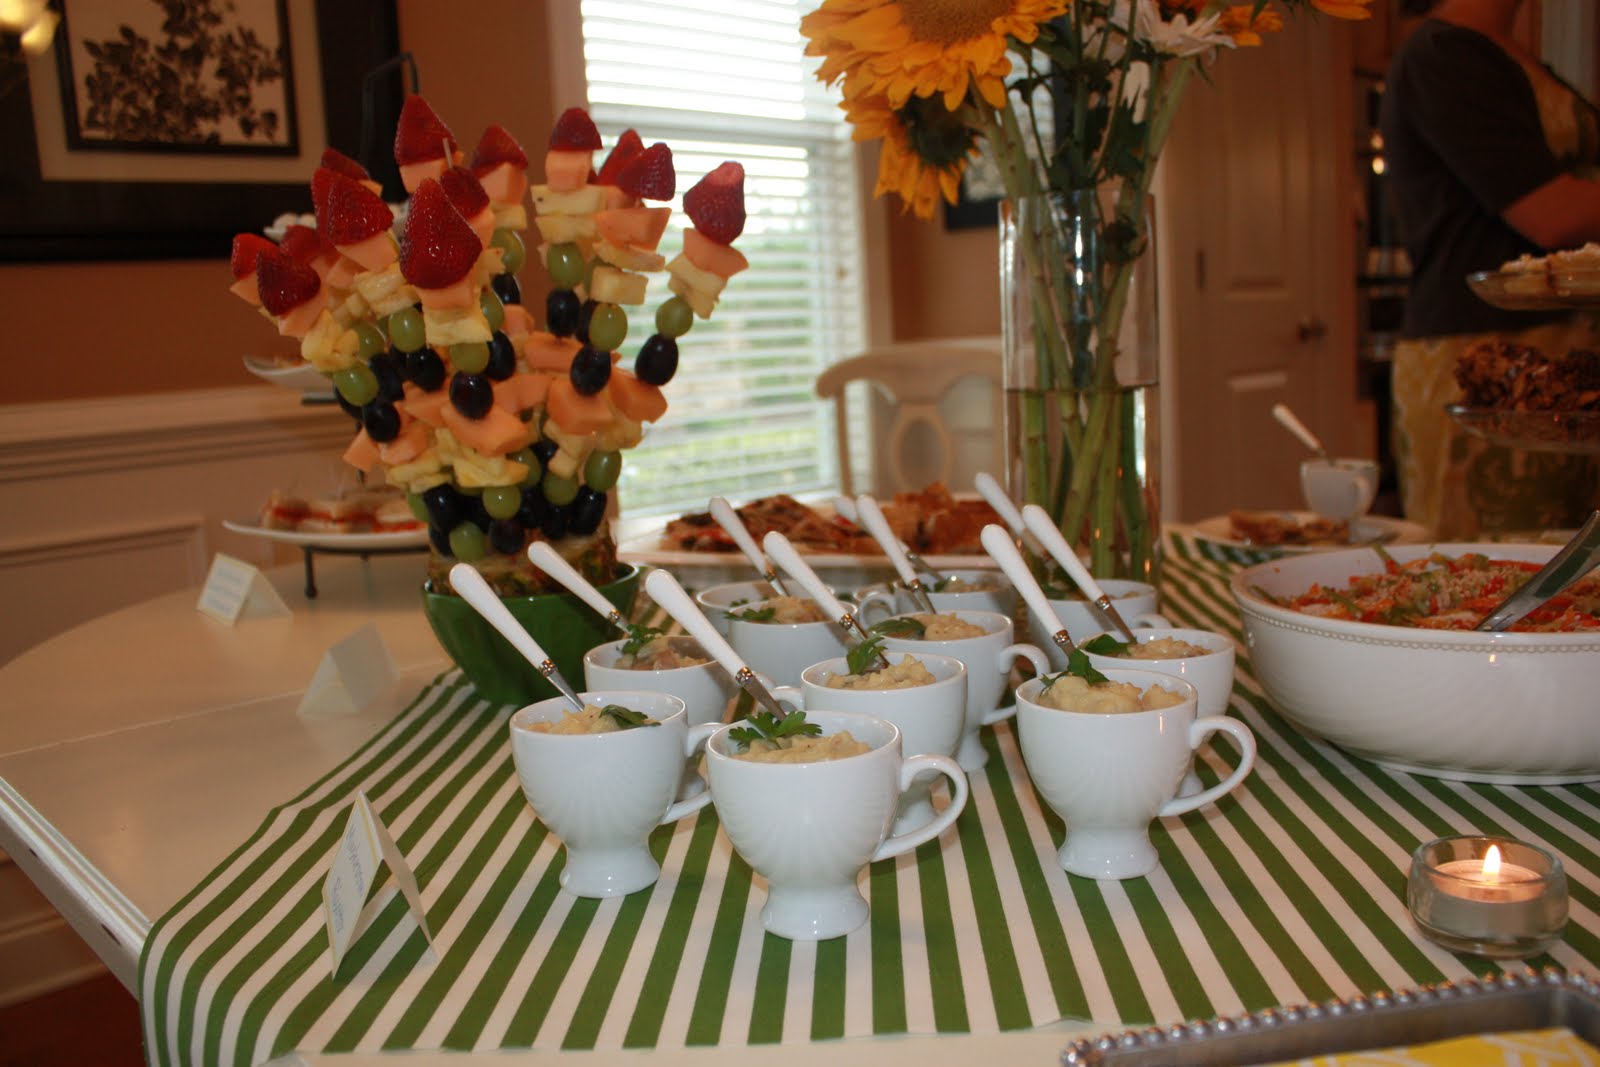
Check out those mini cups with individual servings of mushroom risotto!  Delicious.

It was such a fun party.  I had a blast making my felt circle garland and little strands of bunting.  The best part of my color palette is that I think these decorations will work quite nicely come Easter.

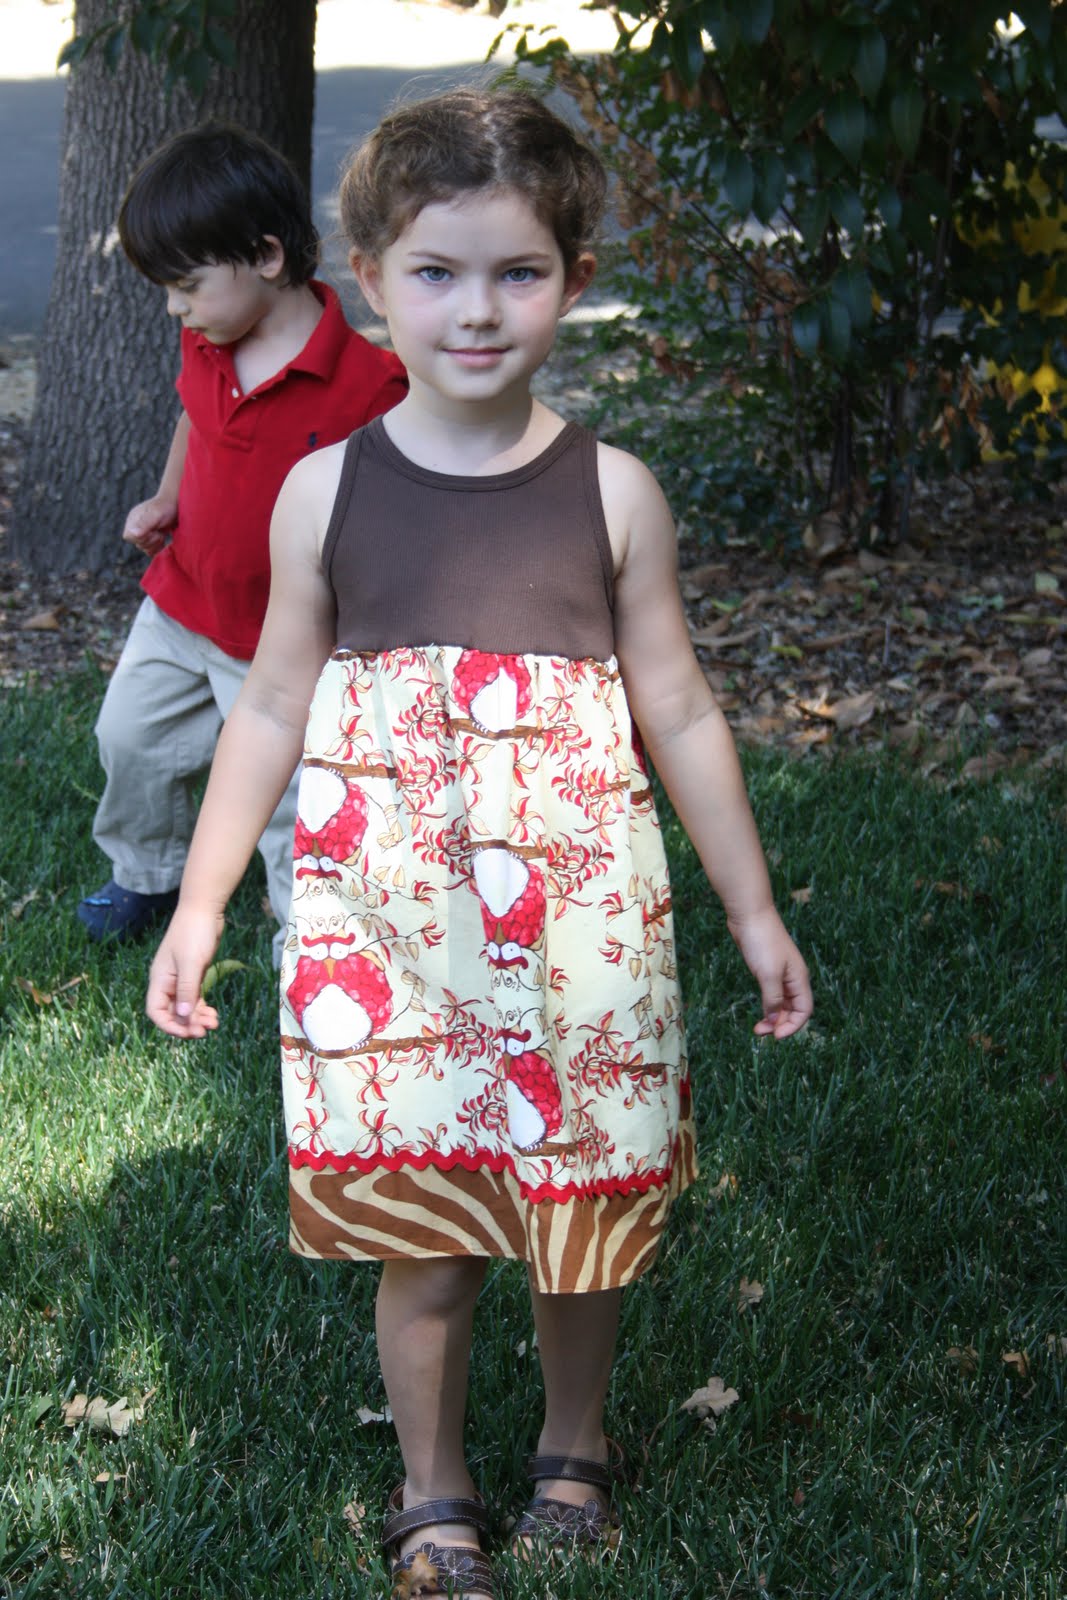
My little Ruby is already dreaming of the next baby shower we can host, when it's for a little girl.  She has visions of tulle and pink.  Sounds lovely...

Of course, a little something for the little man himself.  I could not resist the opportunity to make another pair of quick-change trousers, with my favorite elephant onsie to go with it:


Monday, August 22, 2011

Birthday Stuff

This past weekend was jammed packed full of birthday fun for Grace.  She was so excited for honestly a year about this birthday and the party.  I worked and worked to make the day special, and I'd say for having had a baby 2 months ago, I pulled off a pretty darn good day for this little one.

Sadly, I don't feel like she is so little any more, but I'm going to call her a little one until she's taller than me. (Which won't be long because I'm short!)

For the special occasion, I did manage to create a birthday outfit.  It only took three days to make, but it got done, so I'm not complaining.  

First up Grace got a fancy crown with jewels.  She requested jewels which made me so happy because they got to be hot glued on.  This saved me a lot of sewing and time.


She's sported a Circle Skirt.  Thank you, Dana, for such a great tutorial.  This was such an easy skirt. It does require a bit of fabric considering it's a skirt, but still the look is so darling, so it was worth the extra fabric!


And a birthday shirt was a must.  I kept it very simple.  Sewing still needs to be simple around here if I want to finish anything. 


The whole look was so cute that she wore it on her birthday (Friday), and then I washed it so she could wear it to her party on Saturday.


The party was a huge success, but my all time favorite part of the party, was my new Birthday Wreath.  Have you seen these??


I found the idea on Pinterest, and just knew that I had to have one.  It's a pretty simple concept and simple wreath to make - 14" straw wreath with wrapper left on, 250+ balloons, and straight pins.  There were several tutorials that suggested using floral pins.  May I suggest that unless you foresee a balloon emergency in your future (the floral pins don't puncture the balloons like the straight pins), then just use regular sewing pins.  Like these:


Trust me.  I used both, and the straight pins were by far easier to use then the floral pins.  I also only covered the front part of the wreath with balloons.  No need to bother pinning on the back because no one is seeing it, and 250 balloons is enough balloons to buy don't you think?


This wreath is currently my favorite wreath.  So sad that we just ended our birthday season at this house.  We don't have another birthday until April.  Anyone need to borrow the cutest darn birthday wreath ever?!  


Oh, and the *G* was found in a clearance table at Michael's for $.79.  I thought it was a nice touch for Grace's birthday, but it is easy to remove.


Later this week I might have another simple outfit for you.  Sorry, but nothing too exciting and labor intensive is coming out of MOM West Coast for a bit.  I'm sure you understand!

Thursday, August 18, 2011

Four months in the making...

It's done.  I finished my queen size, Stacking the Odds quilt.  I still need a bedskirt, a pair of lamps, and PILLOWS, but should we just celebrate for a second that something got done around here.  And might I add, just barely before the "end of summer" deadline.  School starts in exactly five days.  That's the end of summer!!


Here she is from a few different angles, and in various shades of light.  It took me two full days to quilt it, and three hours (from midnight to 3am!) to cut out and attach the binding.  For quilting, I just did straightish lines to outline the boxes in the columns.  Then I did series of straight lines on the borders.  I could have benefitted from a walking foot.  But was too darn cheap to add that expense onto this project.  Maybe the next time I try to quilt a queen size quilt with straightish lines I should have that tool all lined up and ready to go.  I don't know.  Is the walking foot as magical as the world says it is?  Or would I still end up with little puckers at my juncture points?!  


I love that it coordinates with the new dresser.  I should probably replace my red fabric in my hoops.  They matched my old quilt.   Mostly, I'm just so, so, so, so happy it's done.  IT'S DONE!


Oh yeah, what's on the back you ask?!  I couldn't bare to spend anymore hours on the project making the back all cute and pieced.  It's a solid piece of Moda grey.  I think the official name is "coal".  I sure love the baby blue outline all around that dark grey backing.  It's so perfectly lovely.


Hopefully these remain my favorite colors for many more years to come.  I don't think "queen size quilt" is finding it's way to the top of my "to-do" list anytime soon.  I am dreaming of dresses right now.  School is starting in five days!  I wish my ladies would be sporting new handmade outfits.  It might not happen in time for the first day of school, but maybe in time for the first full week of school?  Here's what's at the top of my list right now, CLICK.

Finally, I leave you with one final introduction.  A shout-out to one of my favorite MOM fans!  The day after I posted my mini-Maxi dress, we received a comment from favorite reader Summer saying she had already made her daughter Finley one of her very own.  There was a flurry of emails that went back and forth because it was hard to believe that someone had whipped one out less than 24 hours after the post.  But, that's Summer in a nutshell.  And to think she said I have inspired her...she is the new inspiration.  You can see her creations at her newly created creative blog, sevenpretty.com.  Should we all admire her adorable mini-Maxi dress, whipped out in record time:


Seriously cute!
And if you ever find yourself over at pinterest.com, Summer is busy pinning up a storm of sewing inspiration.  

Okay, one last long day at the beach with the kiddos to celebrate a summer well spent!  Then back to the sewing machine...  

Long Live Summer!

Monday, August 15, 2011

Back? and Back To School

Hello!  I've been in my sewing room, or rather I've moved my sewing machine to the dining room table so I can be in the center of the chaos should I choose to sew.  Last week the Italian took the two oldest to his parent's house, and I was home alone with baby Henry.  While it wasn't quite the same as his last trip where I sewed everything my heart desired, I was able to get something made which made me so happy.  I'm in love with my new little baby, but the repetition of feeding, changing, swaddling, sleeping (or trying to get him to sleep) was in desperate need of something else.  Something that allowed for me to be more creative.

Sew the Italian took off, and I got to work during nap time.  It's Back To School time and I have a kindergartner who I believe needs an extensive BTS wardrobe.  I've purchased some clothes, but I really wanted to make her some as well.  I know in a few short years wearing handmade clothes by me might not be as cool to Grace as it is to me.


I made Grace another Tank Top Dress using leftover Tina Givens fabric I had from my mom's pajama pants.


I love the owls.  Just love them.  I am a tad bit sad that I made the dress a bit short.  Grace wasn't here to measure, and I went based on the last Tank Top Dress, but it still ended up a little short.  Darn.  Oh well.


Grace also requested a fancy hairstyle to go with her new dress.  French braiding is about as fancy as I get!


I then made another wreath.  I've been the banner queen before, and now I think I'm moving in the direction of wreath queen.  I made this Back To School one and I've also made a birthday one that I'll share later this week.  Anyway, this wreath was SO easy.  It takes no sewing and can be completed in an hour.


I took what was left of one of my favorite fabrics.  It's Dick and Jane by Michael Miller.  I thought it was perfect for the start of school.  I cut what I had into 3 inch wide strips.


Then I took plain pins and wrapped the fabric around a 14 inch straw wreath.  This took honestly 15 to 20 minutes.  Sadly, I only had approximately a fat quarters and a 1/2 of fabric left, so if you look closely in some of these pictures you can see some of my pins.  If I had all the time in the world, I would probably re-wrapped the wreath, but my time was limited, so I went with it.  Probably if I didn't tell you you wouldn't have noticed??


The longest part of the process was making the fabric rosettes.  Using this tutorial, I made 3 rosettes and then hot glued them to the wreath.


I debated on putting a mini bunting saying something like "learn" or "school" on the wreath, but I ended up keeping it simple.  I could always add one.  Opinions??


So there you have my comeback or what might be my comeback.  Who knows.  But I do have stuff to share later this week, and I have a sneaky suspicion that Annee might have a finished quilt adorning her bed.  Crossing my fingers for a big reveal!!

Sunday, August 7, 2011

OMG I sewed something!!

Seriously, the last time I touched my machine was over two weeks ago.  Really, probably closer to three.  I don't know what to say, except I have one of the best tans of my entire life :)  This summer hasn't been about sewing.  I guess I'm okay with that.  But when I was in a grumpy mood all of Thursday, I said to myself as I went to bed on Thursday night that I would sew on Friday, come hell or high water.  I was going to sew.  And sure enough, I did just that.

I've had this idea for a mini-Maxi dress in my mind ever since Ruby tried one on at Justice a few weeks ago.  I hate the store Justice, and hope never to buy anything for my girls there.  But just for fun on one of our trips, I let them each try on an outfit.  Ruby tried on a leopard print maxi dress.  I hated the dress, but I'll admit, I LOVED the fit of that dress.  And that's when it occurred to me that I should make them Maxi dresses.  I started day dreaming, and the dress finally got finished on Friday!!

Here it is.  Keep in mind this is my rough draft/first version.  I might need to make it a bit more roomy next time around?  And for sure my rose has room for improvement.  Anyway, this version is mostly my pattern pieces for making the next one.  I hope I get to again, sooner than in three weeks!!


First step was making the top piece.  I decided in order to add an element of design intrest I'd make it a racer back style dress.  I had a few racer back tanks to use as rough pattern pieces, but I also got a lot of great info from Anna's tutorial over at Noodlehead's knit Monday series, where she showed how she recently made herself some racer back tank tops.


I just made the tank top in a cropped version, and then I added the next layer which was supposed to sort of be a high-waisted waist band.  And then I started into my layers.  


Each ruffle was 1.5 times the width of the layer it was being attached to.   


The final ruffle hem is left officially un-hemmed.  You've gotta love knit.  However, I thought I could get away without serging inside either, and I will say that after only one wear, the seam that hits at Ruby's knees was splitting.  Since it's a long dress, it's just too much pressure, right at that point where she does all of her kicking, bending, and skipping.  So it's back out to the sewing garage for some reinforcement.

I totally love how it looks on Ruby.  I love the racer back detail in the back.  I think it looks so sporty/cute.


I hate my knit rose.  I was totally rushing at that point since we needed to move on with our day.  If I had it to do over again, I'd slow down and just do a better job.  But I can't really take it off without making little holes in the top, so it's not worth it.  I'll just get over it.  I guess.

 
Because Ruby loves it and wore it all weekend long.  And Jane is waiting rather impatiently for hers!  Sewing on Friday accomplished exactly what I was hoping it would.  Not only did Ruby get a new, one-of-a-kind dress, but I got to experience the one-of-a-kind joy that comes with creating something from nothing!  Seriously, I'm going to sew again soon.  Promise.  Maybe.
Related Posts Plugin for WordPress, Blogger...