If you want to make your own superhero birthday shirt, I created a template of the lightning bolt and circle that I use. You would just need to make your own number. For the template go HERE.
Now onto how to make your own birthday crowns!
Supplies you'll need:
-template found HERE
-felt
-10 inch piece of 3/4 or 1 inch elastic (10 inches works for a 2 to 5 year old give or take.)
- 15 x 3 1/2 inch piece of fabric
I made a superhero crowns, but of course you can make whatever kind of crown you'd like. For Grace's last birthday, I didn't use the superhero emblem and just bought plastic gems at Michael's and glued them all over. There are tons of possibilities with these!
First you'll make the elastic strap for the back.
Fold your piece of fabric in half lengthwise and along the long edge using a 1/4 inch seam allowance.
Turn inside out and press moving the seam into the center.
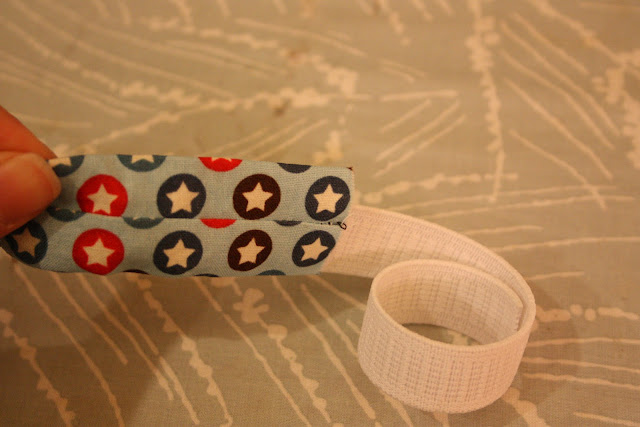
Using a safety pin (or whatever your preferred method), slide your elastic through your fabric strap.
Then baste stitch the elastic to fabric strap.
Next lay out the top layers of your crown.
You'll stack one large felt crown piece on the bottom, then a small felt crown piece on top, then your superhero emblem (if you're making a superhero crown), and then a letter or number.
Then I start sewing. I sew my superhero emblem first.
Then the letter.
Then I stitch the small crown piece to large crown piece.
I then did some trimming to make the small piece more centered. I would suggest using more pins (or just using pins) to keep your layers straight. I got lazy because it was late at night.
Next you'll sew the second large crown piece to the back of the layers you've sewn together. You'll also sew the elastic strap at the sides between the two large crown pieces.
The back of your crown will look like this.
The front will look like this.
And your superhero will look something like this.
***On a birthday note, but not a superhero birthday note, I made a template for my Lego Man birthday shirt should you want to attempt to make one yourself. You can find the template in the Lego Man post HERE.
Next up will be the super simple birthday bags I whipped up for these birthday presents. This tutorial only took me like 4 days to write, so maybe you'll see the bag tutorial this week or maybe next (or the week after).
And in other exciting sewing news, I just have to attach binding to my scrappy patchwork circle placemats. Totally excited. See you soon I hope!


4 comments:
Now I want to make this too for my bday gift! Maybe I'll try it at home tonight and if I can't figure it out, I'll come to you :)
Maggie, you let me know if you need help!! Also, I just made a little edit to the size of elastic...obviously you'll need a little bit more than 10 inches if you make the crown for yourself. :)
What totally awesome gifts. Thanks for the tutorial. Good idea to cover the elastic.
Olivia's bday is in 11 days. She would LOVE a birthday crown. I will attempt! Thank you!
Post a Comment