
The supplies you'll need are:

-Straw wreath (I use a 14 inch one)
-Yarn (any color you want)
-fabric scraps
-fabric paint
-anything else you want to use to embellish your wreath
-thread, needle, scissors, possibly a sewing machine
Okay, let's get started. The first thing I do is prep my yarn. This may seem like a waste of time, but it will save you from having your yarn get all tangled on you. I find the end of the yarn that is in the inside of the skein and pull it out. I then start to form a ball and just keep pulling my yarn off my skein. You will go from having a skein of yarn

to a ball of yarn.

A ball is much easier to work with when wrapping it around the wreath. I'd say this step takes a 1/2 hour. I have tried making a wreath without making a yarn ball, and I got into the middle of my yarn skein and it was all tangled and was just a mess. You can cut this step out if you like, but you've been warned!

Okay, now that you have your yarn ball, tie the end of your yarn to the wreath with a simple knot.

And then start wrapping it around and around and around. May I suggest watching a good show or listening to a book while you do this. I believe I watched an episode or two of this fantastic mini series on Netflix to keep me company.
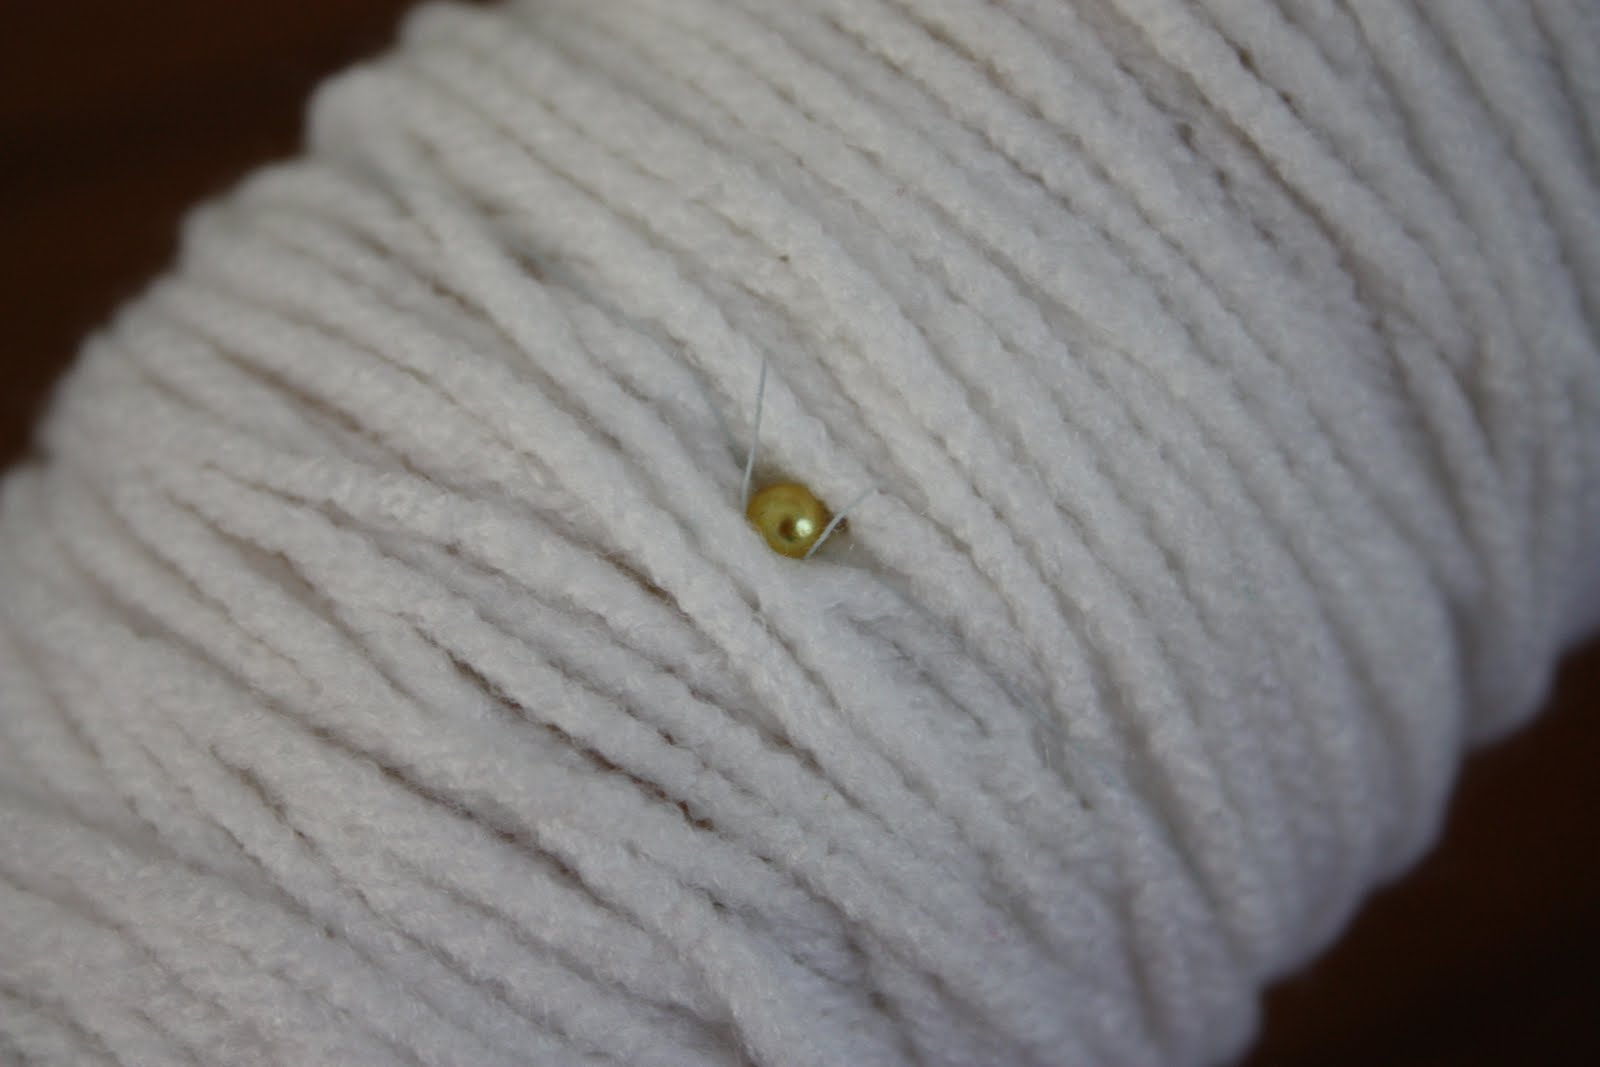
Oh, and I like to hold my wreath between my knees as I wrap the yarn around and around. Just my hot tip on the easiest way to do this task. (Sorry the picture is blurry!)

I'm not too careful at making sure my yarn is neat.

I kind of like the random overlapping of my yarn, but if you want to make it more uniform, go for it. It's all up to you and your style.

Once you are done covering your wreath, I tie another knot at the end and bury it in yarn to cover up the knot. I only do one layer or one time around my wreath with yarn, so I make it count and do a thorough cover job. I do have extra yarn left over, but I think one time around it enough.
Next up I made yo-yos for this wreath. However, my Spring Wreath I used felt flowers, so I used felt and lots of online tutorials for flowers. This is all up to you and how you want to embellish your wreath.

To make yo-yos I used different size circle templates (I was lucky and found all of these in my pattern bin), cut our fabric circles from scraps, and used Heather Bailey's yo-yo tutorial. Yo-yos are very simple and easy to make, and can be used for a hundred different purposes (embellishments, hair clips/bands, pillows, blankets, etc.).

For my wreath I made 10 yo-yos in various sizes. For my color scheme on this wreath I stayed with blue fabrics for a baby boy.

Next up comes the simple bunting. I wanted my wreath to say "it's a boy" and I thought bunting would be a cute addition and so simple and easy to make. I pulled out and dusted off my scrapbooking stamps from my teaching career to help spell out my message.

I took some fabric paint and a large-ish scrap of the fabric I was going to use to make the bunting.

I did a couple of some letter trying to make them look perfect to my eye. Then I let the paint dry. (I think you are supposed to iron fabric paint to make it permanent, but because this will never get washed I just let the paint dry.)

The next morning I laid out my triangle template I created and traced around each letter with a fabric pencil.

Then I laid it wrong side to wrong side with another scrap of the same fabric, and cut out all my triangles.

I took all my letters to my sewing machine, and sewed the sides of my triangles together first.

Before you start sewing all the triangle bases together, pull some extra thread as you would if you were doing a gathering stitch. You will be using this thread to secure the bunting to the wreath.

Then I sewed along the base of my triangles in one straight line to form my bunting. Pull extra thread at the end of the bunting. Again, you'll use this to attach it to the wreath.

I made my bunting during arts and crafts time. Grace was bugged I was needing her help in the middle of her project. Sorry, little one.

Now using pins I place all my yo-yos and bunting to the wreath and make sure I like the positioning of everything. (Sorry the bunting didn't make it into the picture. I thought I got a picture of it, but alas, I did not. Use your imagination!)

Once I'm happy, I tie my bunting thread around the wreath and knot it several times on the backside of the wreath.

I then secure the knot with a pin on the backside! (I really need just plain pins, but I just used what I had because making an extra trip to JoAnn's for pins seemed ridiculous!) You can cover the pin up with yarn, and if you use plain pins this will be much easier.

Once the bunting was in place, I then secured all my yo yos with pins too. I made sure the pins weren't visible through the opening of the yo yos. I tried my best to take a picture of this.
Now you are done!

Take your wreath and go and hang it on up!

Simple and easy, right??


5 comments:
What a great tutorial!! and how blessed to have a neighbor like that! And....she's blessed to have you too! Thanks for sharing!
Thanks for all the wreath making hot tips! I think it also seems like the perfect activity to take with me pool side for all the many hours I have to spend sitting there!!
Now that is a project I might be able to handle. I appreciate your craftiness in the sewing department.
So Cute! The little Bunting is so adorable!!
This is absolutely adorable! Thanks for the tips on wrapping the yarn too...good to know!
Post a Comment