Monday, May 23, 2011

KCWC wrap-up post, one week later.

Thanks to Liz for giving me the week off of blogging!  After the epic week of sewing for KCWC, I really was in the mood for  a break.  But of course, it didn't last very long.  I had a pile of quilts awaiting my attention, remember?  Stay tuned throughout the rest of the week to see what I was able to get done.  The pile is shrinking!!


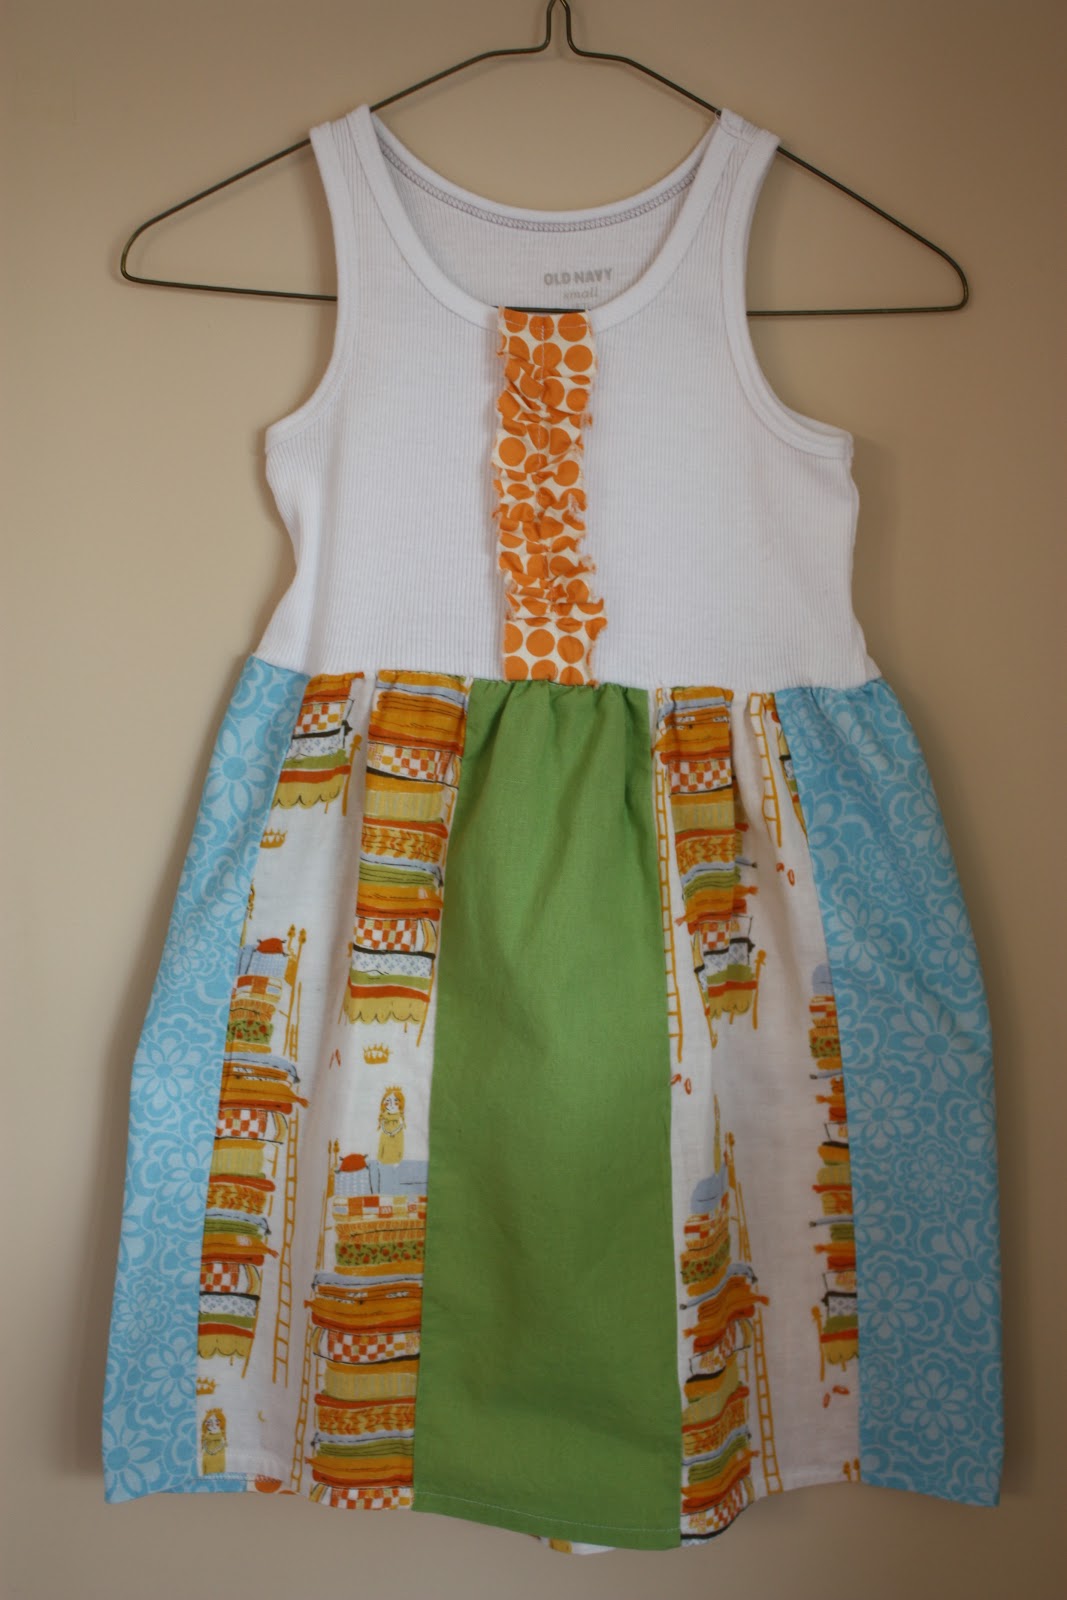
After it was all said and done for KCWC, I have to admit that the ruffled tank dress was simply my favorite.  Since I had purchased two tank tops at the same time, I knew there would be one more tank-dress on my horizon, though the official sewing challenge was over.  I had a single cherished fat quarter of the Heather Ross's Princess and the Pea fabric, and it has been waiting to be highlighted.  I looked at that fat quarter and realized I could get three, 6 inch wide stripes that would be 18 inches long.  That was the perfect length and width for a tank dress.  The rest is now dress making history:


The ruffle down the front matches two of the stripes that are on the back of the dress.  Once again, I cut the ruffle on the bias.  This is a close-up to show what it looks like after coming out of the washer AND the dryer.  I am really enjoying this little trick.  No more need for the tiny hem, or serging the sides for ruffle adornments.

The ruffle tank dress is the easiest summer sewing project.  The next time I can turn it into a tutorial, though I feel kind of silly doing so, since it's so darn easy to make.  And now that I know I can use a fat quarter of fabric, my horizons just expanded, exponentially!

Friday, May 20, 2011

Crazy Daisy Apron


Happy Friday!  I'm so glad the weekend is here.  The last thing I have to share with you this week is the Crazy Daisy Apron I made last week.  I actually can't take all the credit for this one.  I work with the Young Women at church, and we had a huge fundraising event last weekend for Girl's Camp.  One of my Young Women helped me pick out this pattern and sew the apron to be raffled off at our event.  She is a 12 year old, and she's got mad sewing skills.  She told me she went to sewing camp a summer or two ago.  I can't wait to sign Grace up for sewing camp.  Doesn't that sound like fun?!  I kind of wish I could sign myself up for sewing camp.

Happy weekend to you all!  Maybe you'll get some sewing done.  I'm hoping to get a little extra sleep!  All I wanted to do all day yesterday was crawl into my bed.

Thursday, May 19, 2011

A Cosmetic Pouch


I don't care make up around with me.  I always have lip gloss on hand because I hate dry lips, but if my make up doesn't get put on before I leave the house, then it's not getting put on!  However, I do love pouches.  I've made several Gathered Clutches, and I carry one in my purse wherever I go.


When I saw that Rachel on Stitched in Color make the Cosmetic Pouch from I *Heart* Patchwork, I thought it would be the perfect pouch to put in my purse or diaper bag when my new baby arrives.  This pouch will not being holding make up, but the ever important butt paste, lotion, and hand sanitizer.  The things you never want to be stuck without when you leave your house with a little baby.


I again used my Anna Maria Horner Innocent Crush fabric plus some linen to make the outside shell.


As for the inside, it's still Anna Maria, but it's from her Good Folks line.

This was a very simple and perfect little project in all aspects.  It took very little material, it came together very quickly, and the pattern was well written and easy to follow.  My only criticism would be that I had to hand sew the lining to the pouch.  It looks lovely, but I find hand sewing tedious.  I spent 20 minutes trying to figure out if there was a way to avoid the hand sewing.  If I would have spent some more time on the matter, I'm sure I could have figured it out, but in the end it only took me 20 minutes to hand sew the lining so it was no big deal. 

Wednesday, May 18, 2011

Some baby essentials.

One of the other items on my things to sew before my baby arrives was a nursing cover.  With my other two kids, I used blankets or changed locations for privacy.  With this baby I might not have the luxury of always being able to nurse at home like I could do for the most part with my first two.  So I made myself a nursing cover.


There are several tutorials out there on how to make a nursing cover, but I think this one from TaDa! Creations caught my eye because it used two different fabrics and rick rack.  I love rick rack.  Maybe I'm too old to have rick rack on my clothing??  But rick rack on a nursing cover is totally fine, right?


I used two of Anna Maria Horner's Innocent Crush to make my cover.  There have been some interesting comments and blog post on sewing blogs about the Innocent Crush line.  Some don't really care for it.  Call me crazy, but I really love it.  Having my nursing cover made out of beautiful fabric gets me all excited about sitting somewhere in public nursing.  Okay, maybe excited isn't the word, but at least I'll be nursing in style.


And with nursing a baby comes the need for burp cloths.  Having donated all of my old burp cloths away I needed to buy or make some.  I chose to use Homemade By Jill's burp cloth template, but I didn't want lots of snipping to do to make the fraying edges, so I chose to just stack my layers right side together, sew around them, and then turn them right side out and then top stitch.


I also used some different minky fabric on one side instead of just using flannel.


I'm almost ready for my little one to arrive.  Almost, because you can NEVER really be ready for an addition to your family.  But, I'm so looking forward to holding my little baby boy and admiring how little he is in every way.  And the smells of newborns.  I love the way babies smell.  And I won't be so sad when I rolling over in bed at night isn't so painful!!

Tuesday, May 17, 2011

Baby Quilt Tutorial

Several months ago I blog surfing and somewhere along the links I saw a quilt.  It was a darling baby quilt, but the website I found it on didn't have a tutorial or pattern for me to bookmark.  Sadly, I'm not sure I could even find my way back to the first quilt I saw, but the idea stuck with me.

Then a week or so ago I was making a list of all the things I hope to make before my baby boy is born and on the top of my list was a quilt. 


Grace got this adorable quilt (above) from Annee when she was born, and we still use it today.  It's the perfect size to lay down on the ground and let my baby (and his siblings) roll around on.

I started searching all my favorite quilt sites for a fun quilt to try, and I spent plenty of time on Etsy trying to decide on what kind of fabric I needed to add to my stash to make the perfect quilt.  Nothing was inspiring me, and then I thought of the quilt I saw many months back, and then I decided I was going to figure it out.  I also decided that it was the perfect kind of quilt to just use scraps.  I have plenty of them, so why not use them.

And a little quilt was born.  I'm going to call it the Criss Cross Quilt.  


I used this quilt link as a reference, but honestly I'm not sure how I found it or how I figured out that I could make the quilt I wanted to by referencing it.

To make this quilt I used over 25 different fabrics and almost all of them came from my scrap bin.

To make a 38"X38" baby quilt you will need:


100 colorful fabric 4 1/2" squares
200 white fabric 2 1/2" squares
batting
thread
fabric for back
fabric for binding

Your first step is to sew 2 small white squares onto one of the larger colorful squares in opposite corners.  Like so.


After cutting all my fabric, this might have been one of the more tedious steps.  I sewed a white square to each colorful square without cutting my sewing machine thread.  After I sewed 100 white squares to the 100 colorful squares, I took my long link of squares and cut them apart, and then sewed the remaining 100 white squares on the opposite corners.

Keep them linked.  It makes this step go so much fasters!

Next step you need to cut the corners of each of your squares to look like the picture below.


Then iron the seam allowances.


The front side will now look like this:


Then I laid out all of my squares making sure all the fabrics worked together.  


Then I assembled each criss cross.  Using a 1/4" seam allowance, I sewed the top and bottom of the criss cross together first.  


Ironed the seam allowances, and then sewed both the top and bottom together with a 1/4" seam allowance.


I sewed all 40 criss cross blocks together first, then I sewed each row of criss cross blocks together using a 1/4" seam allowance.


And lastly I sewed all 5 rows together.  And my quilt top was born.

On the back I used some extra squares I accidentally made.  (I guess my stacks above were a little larger than 100 colorful squares and 200 white ones.  Those are big numbers so it's easy to lose track when counting.)


Then I finished up the quilt by stippling it and binding it.  Would you believe me if I told you it was easier to do the Free Motion Quilting on the twin quilts I made a month ago then it was to FMQ this little baby blanket??  It was.  The reason why is because I ran out of quilting adhesive spray.  I ended up having to unpick a LOT of my stipple, and then I drove all the way to JoAnn's for quilt spray.  Kind of tragic and lame to have to take an extra trip to JoAnn's for just one thing, but in the end it was so worth it.  I don't think I'll ever try to quilt a quilt without the handy spray.


I crossed off several other items on the list of things to sew before my baby arrives.  I have more to show and tell this week.  Get so excited!  Tootles for now!

Monday, May 16, 2011

Some Scrappy Ideas

I don't know about you, but I was sew impressed with all that Annee sewed last week for her little ladies.  And, not only did she sew like crazy all week long, but she blogged all week long giving me a week off.  It was dreamy.  The Italian also took my kids to his parents house for part of last week, so I had LOTS of sewing time.  This week you'll be hearing and seeing a lot from me!


To start off the week I'll take you back a week to my Mother's Day present for my mom.  In Anna Maria Horner's Seams to Me: 24 Reasons to Loving Sewing, she shares a pattern for a Pin Cushion Caddy.  Annee bore her testimony of this pin cushion caddy to me a couple years back, and I, of course, made one and have loved it.  It's by my side through all my projects.

This is a little sneak peek of another project I'll be sharing later this week.  Notice my friendly Pin Cushion Caddy by my side.


I decided that my mom needed a Pin Cushion Caddy, so I made her one for Mother's Day.  I also added her favorite chocolates that they don't sell in the South.  The beauty of this project, besides the fact that you will not be able to live without it once you have one, is that you can make the who think out of scraps.  I love projects like that!


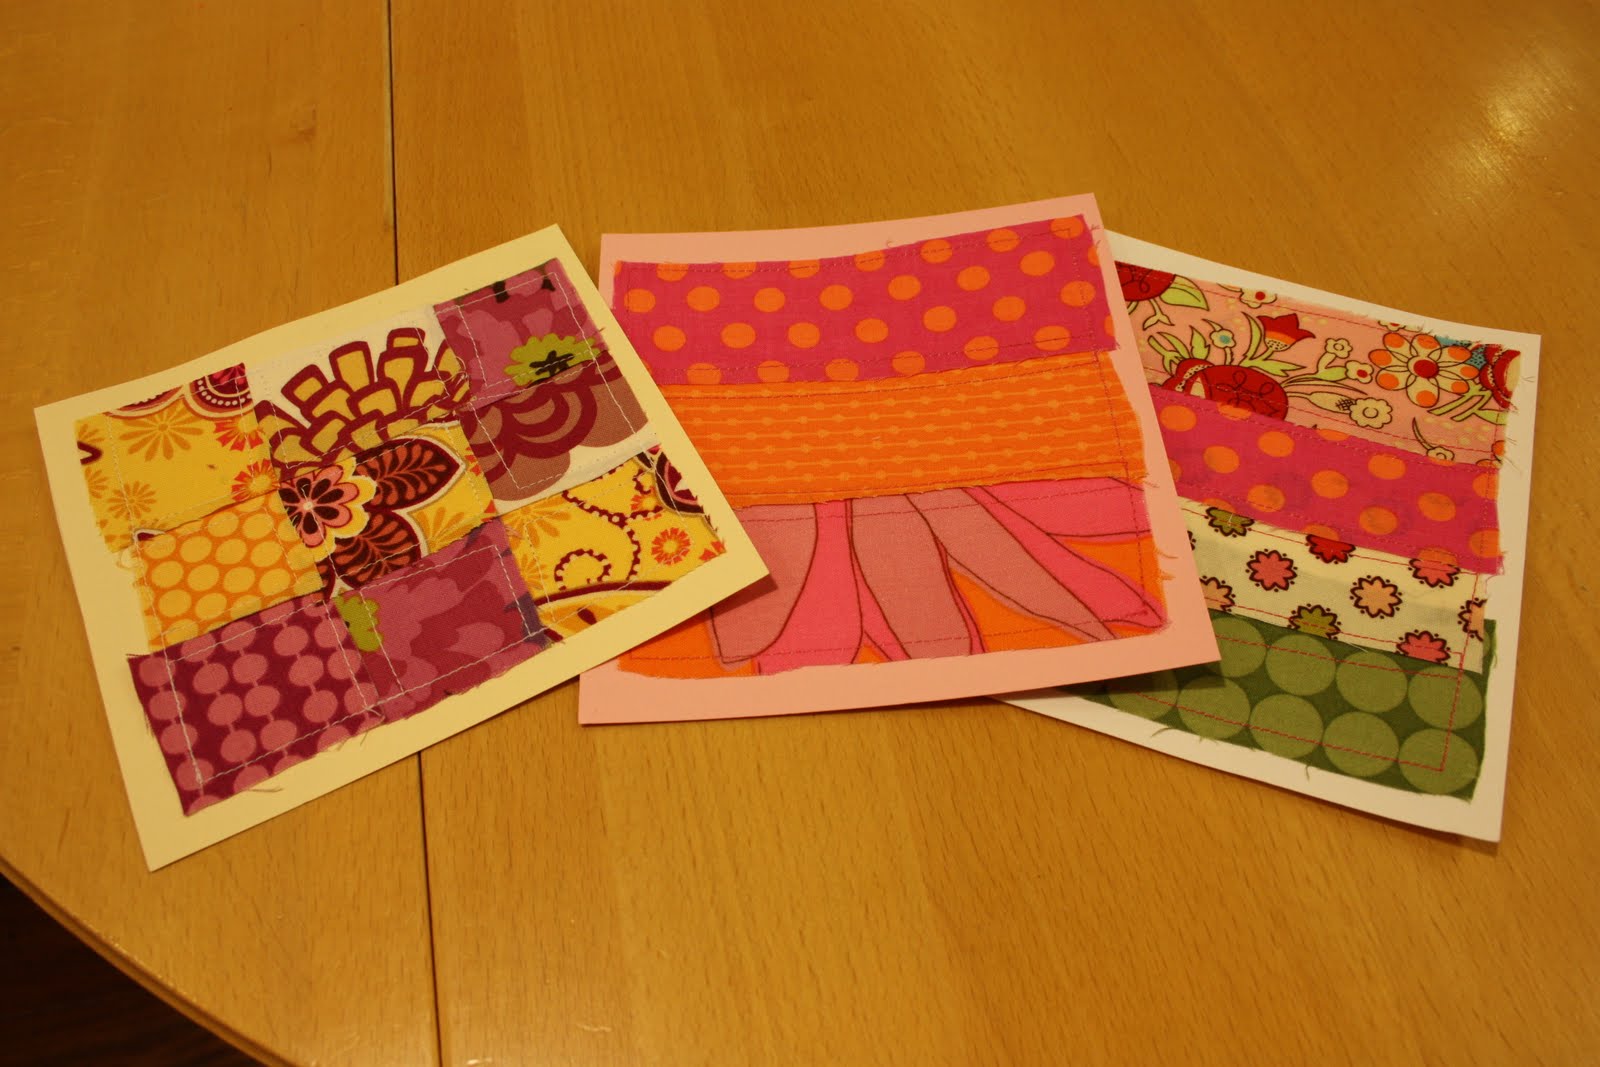
Once the Pin Cushion Caddy was ready to be sent off, I realized that I didn't have a card.  What to do??  Make one.

Again, I reached into my scrap bin and started pulling coordinating fabrics.  I then took one piece of 12 X 12 cardstock and divided it into 4 squares.  (I had to mail out the scraps to our two winners, and I needed to add a card their packages as well.)  So I had a couple cards to create.


I took a regular glue stick,


Put glue all over my card,


Placed my fabric and then sewed all around them.


I penned a little note on the back of each card, 


And put them in their assigned boxes.


Simple, quick, and cute if you ask me!


I made these cards more like postcards, but the sky's the limits with this idea.  You can use the same idea and steps to make an actual card.

Stay tuned this week because I have what I believe to be a gorgeous quilt idea all made out of scraps.  Get excited!  

Friday, May 13, 2011

KCWC Day #4

I was on a roll.  But obviously that was not going to last forever.  I was subbing all day today, so no sewing to speak of, and probably there won't by the end of the day either.  But I do have something to show for myself from yesterday.

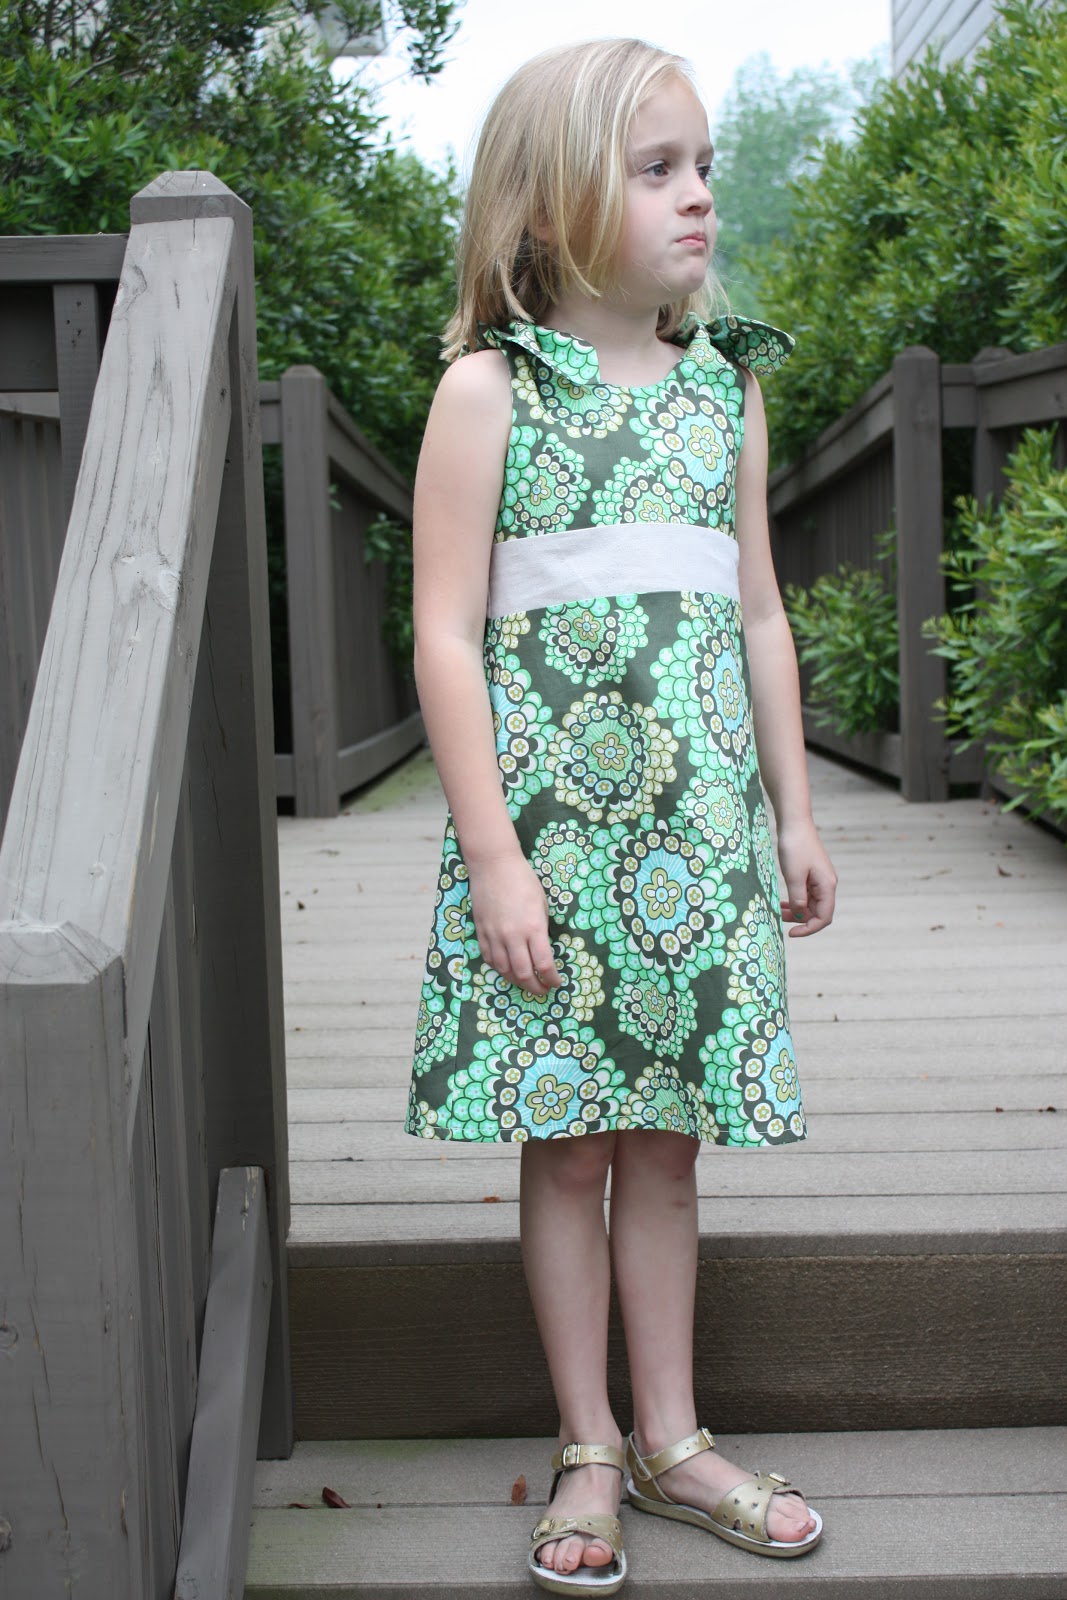
I had a sewing friend join me in the sewing garage yesterday.  She brought a little dress that she had, we laid it out inside out on freezer paper and turned it into pattern pieces that we thought would be big enough to fit our girls in kindergarten.

Given my recent success with "self-made" patterns, I was a bit leery.  Sew happy to report that this time we were totally successful!!


On every project, except for the yellow dress, there has been a touch of linen.  It hasn't really been a "theme" or a conscious decision, but I noticed it as I was trying to select the contrasting band for this dress, and just decided to stick with it.  I'm loving the subtle effect it's had on each dress.

When the day was almost over, I decided to give myself one last hour in the sewing garage to see if I could finish the tank dress.  Happily it only required one last hour!  It was such a fast and fun project I might just have to make a whole collection of tank dresses this summer.

Sorry for the bad lighting.  You know, it was late:


The white linen ruffle down the front of the tank top is cut on the bias.  I've heard that that will prevent it from fraying.  I did a little test with my fingers, trying to see if the fibers would fray.  So far they were holding strong.  We'll see if it holds up in the wash.  Given my attraction to the linen, I just couldn't resist.  Ruby wore this one to school today.  I have to say, I'm a fan!!

So those were my accomplishments for Day #4.  Today is Day #5 and it's going to be a pass for me.  But who knows, maybe I have one. more. dress. before I call Kids Clothing Week Challenge over.  We'll see!!

Have a fabulous weekend.
Related Posts Plugin for WordPress, Blogger...