I like these little clutches too because they use very little fabric. The above clutch was made entirely out of scraps I dug out of my scrap bin. Not too bad for scraps, huh?
On the inside I added just a single credit card pocket.
To make this gathered clutch with a twist, I did the following. First, and I STRONGLY encourage you to do this if you are going to make even ONE clutch, make paper pattern pieces. I used freezer paper, so the pattern pieces are a little stronger than just regular paper. There are A LOT of cuts to make before you start to sew, and having the pattern pieces makes all that cutting/measuring much simpler. I've done it both ways. I cross my heart it's easier with the paper pattern pieces.
I write what each pattern piece is for and how many I'll need to cut of each.
Following Noodlehead's tutorial you'll cut all the pieces Anna tells you to except you won't need the gathered front piece or the front band.
To make the gathered clutch with a twist you'll replace those pieces with the following:
- Cut 2 pieces 10" by 3 1/2" for the exterior (these will be your gathered sides)
- Cut 1 piece 5 1/2" by 4" for the exterior (this is your middle piece)
- Cut 2 pieces 5 1/2" by 2" for the 2 front bands
Your additional cut pieces should look something like this:
Two of these fabrics are Anna Maria Horner. Guess which ones. Yes, I'm a little obsessed!
To prepare the front of the clutch, start with the two front bands. You'll iron the long sides into the center. Crease it just over half way. I think the pictures explain it better than my words can.
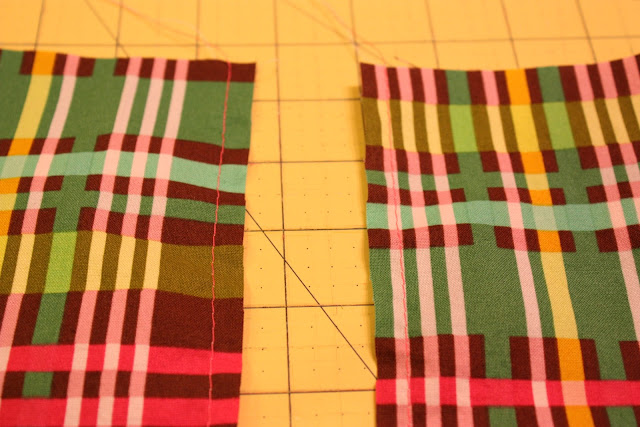
Fold both sides to just beyond the center.
The picture above is what the band will look like on the back. The raw edge will be sewn down, so you don't have to worry about it fraying.
Once your front bands are prepped, set them aside. Then run gathering stitches 1/4" along the inside length of each piece of fabric cut 10" by 3 1/2".
Now gather each piece until they are the length of your middle exterior piece.
At this point I like to press the gathers to make them look pretty.
Once you've pressed both gathered sides, then you'll need to assemble them to the middle exterior piece. I did not take pictures of this process, sorry. You'll take one gathered stitch piece, and pin the gathered stitches right side to right side of the outer length of the middle exterior piece. Using a 1/2 inch seam allowance, sew the two pieces together. Repeat with the gathered stitch piece on the other side of the middle exterior piece. It will end up looking like this:
Flip over and press the seams toward the gathered pieces.
Now add the two front bands. They will cover the seams between the gathered pieces and the middle piece. I don't center the bands over the seams, but rather I try to expose as much of the middle piece as possible. I'm not sure the picture below does the best job of showing what I mean. Sorry!! Just know I was taking these pictures late at night because that is when MOMs sew!!!
Once your front bands are attached, the front of your gathered clutch should look like this:
Iron your interfacing to the back of this piece.
and you are ready to assemble the rest of your gathered clutch.
To finish your gathered clutch, refer to Noodlehead's gathered clutch tutorial. You'll skip down past the 8th pictures and start where Anna writes, "Make the Divider Pocket."
Good luck!
In the end you'll have your own adorable gathered clutch with a twist.
I forgot to take a picture of the inside of this clutch. If you're dying to see the inside, let me know!
Now I just have to figure out what I'm going to do with 2 new gathered clutches. Should I keep one for myself? Which one do I like better?? I'm sure I'll figure it out.
If you have any questions about how to make your gathered clutch with a twist, please let me know!
Good night from MOM West Coast!


3 comments:
I love your take on this clutch. I've had the tutorial bookmarked for ages, but I haven't dared try it yet!
What a great twist. I think I like your version better. I'll have to make one of these. That bird is adorable on the front.
this is really cute! and boo to sarah m. hahaha Thanks for sharing. :)
Post a Comment